Bacon is awesome. It’s a fact. Well, it’s actually an opinion, but it’s MY opinion, and since opinions are now facts, it’s definitely a FACT.
HA! LOGIC!
As many of my past posts indicate, my love of bacon is no secret. I’ve got bacon-laced mac and cheese. I’ve mixed it with fish on more than one occasion (fish cakes, salmon dip). I’ve done a dive into the history of bacon (no, the word bacon does not come from “baking”), and even attempted to apply my teacher-brain to the hasty generalization that “bacon makes everything better”.
What can I say? I love bacon.
I’ll admit that there is a problem with my love for bacon, though. That – quite simply – is the smell that lingers after cooking the bacon.
The most common method of cooking bacon is the simple pan-fry. Lay strips out in a frying pan, and flip them or stir them around until their done to your liking. Most people prefer to cook bacon quickly, which is cool, because that means you get to eat it faster, but it also increases the risk of burning, and increases the prevalence of that lingering bacon smell.
See, strips of bacon are comprised of muscle and fat, both of which contain water. Even dry cured bacon has a water content of about 10%, which means that when bacon is cooked, the water creates steam while the fat is rendered (which is the process of cooking the fat down). It’s why you need to clean a pool of grease out of the bottom of the pan when you’re done cooking.
If you cook bacon quickly, over high heat, the water is boiled out, and the fat is simultaneously rendered and therefor splattered into the air and all over your stove and counter top. The fatty particles hitch a ride on the steam, and waft about your house, creating that unmistakable – and again, lingering – bacon smell that seems to cling to every surface for hours.
There’s and easy way to cook bacon that is consistent, and can be tailored to your individual needs: baking. By using a sheet pan, a cooling rack, and your oven, you can achieve perfectly cooked bacon in about the same amount of time, with SIGNIFICANTLY less lingering greasy smell, and (BONUS) no counter-splatter!
Stuff you’ll need:
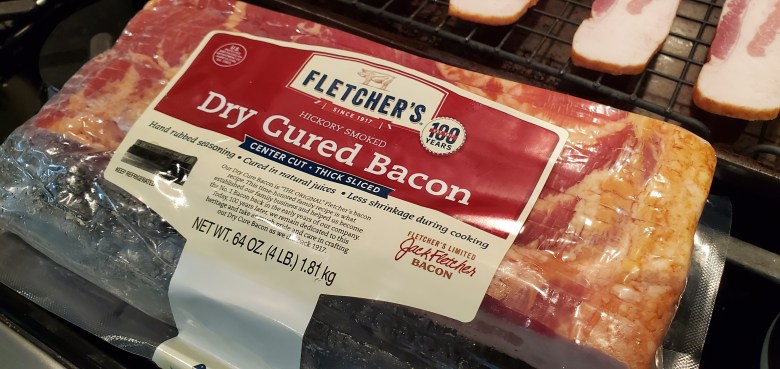
- Strips of your favorite bacon
- Note: For this recipe I used thick-cut bacon, so the time might be a little shorter for thinner slices
- Cooking Spray
- A cookie sheet
- A cooling rack
How to cook bacon in the oven:
- Preheat your oven to 400 degrees
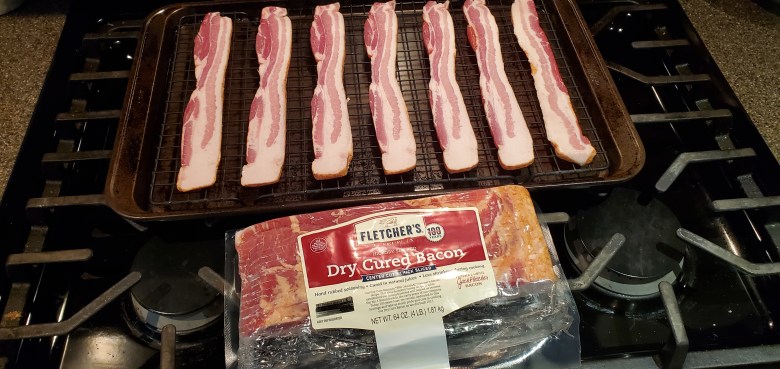
- Place your cooling rack inside the rim of the cookie sheet, and spray the rack with cooking spray
- Note: you can lay some aluminum foil down under the rack, but the whole process gets pretty greasy, so I usually just end up washing the sheet afterwards regardless
- Lay strips of bacon on the cooling rack, and space them so there’s at least 1/2 and inch of room between them (they won’t cook consistently if they’re overlapping) – I can fit about 8-10 slices on mine with good spacing
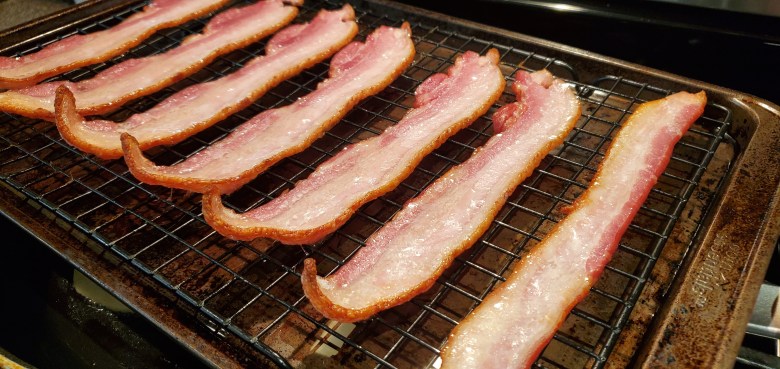
- When the oven reaches temperature, place your cooking sheet with the rack and the bacon into the oven
- Bake for 10 minutes, and then remove the tray from the oven, and using tongs, flip the slices
- Be careful handling the pan, the drippings from the bacon start to build up after the first few minutes
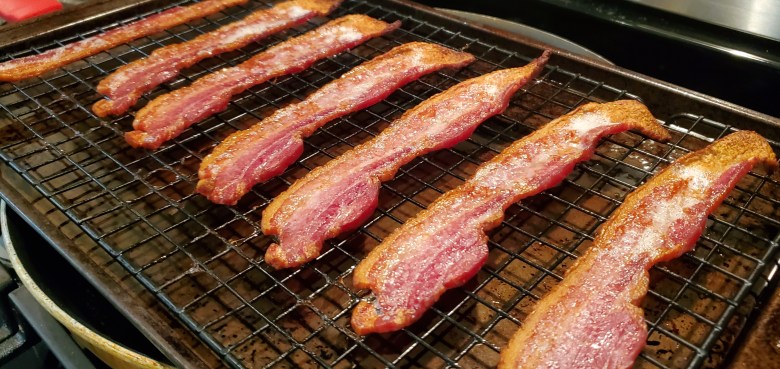
- Place the tray back in the oven, and bake for another 8-10 minutes, checking the bacon every minute or so after 8 to make sure that you’re achieving you’re desired doneness.
- More time = crispier bacon, duh
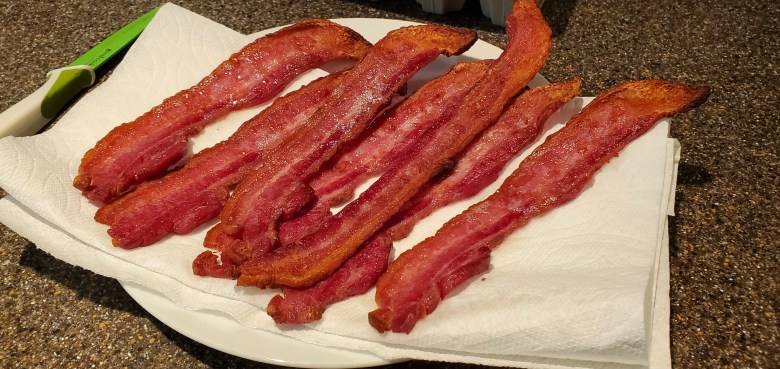
- When they’re finished, remove the slices to a piece of paper towel, or your plate, so you can eat them.