There are very few times throughout the life of this blog that I believed I was breaking new ground or introducing an idea that was not already well covered in the culinary world. While there are certainly a few very specific recipes that I’m especially proud of (my Koreuben stands out), I’m more determined to generally show you all how easy it is to create and make tasty meals without becoming confused or overwhelmed. Granted, I’m not always successful, but I’m going to keep trying.
This is another of those non-revolutionary posts. I realize that I’m not going to be able to tell you anything brand new, or maybe even anything that you don’t already know, about smash burgers. There are scores of articles, posts and videos available that will explain the history, introduce you to different styles, and walk you through cooking techniques. My goal is simply to show you how simple it is to cook these tasty burgers, and encourage you to try them out on your own!
That’s pretty much it.
If you’re looking for something new to try out, or you just need something for your menu this weekend, I’d recommend smashing some burgers.
Stuff you’ll need:
- The ingredients below (obviously)
- A pan or griddle that you can get VERY hot (I’d recommend something cast iron)
- Here’s the one I use – This Lodge Griddle
- A good spatula (make sure it’s metal if you’re using a cast iron pan)
- I use this spatula
- Something to smash with (you can use the spatula, but it tends to get HOT)
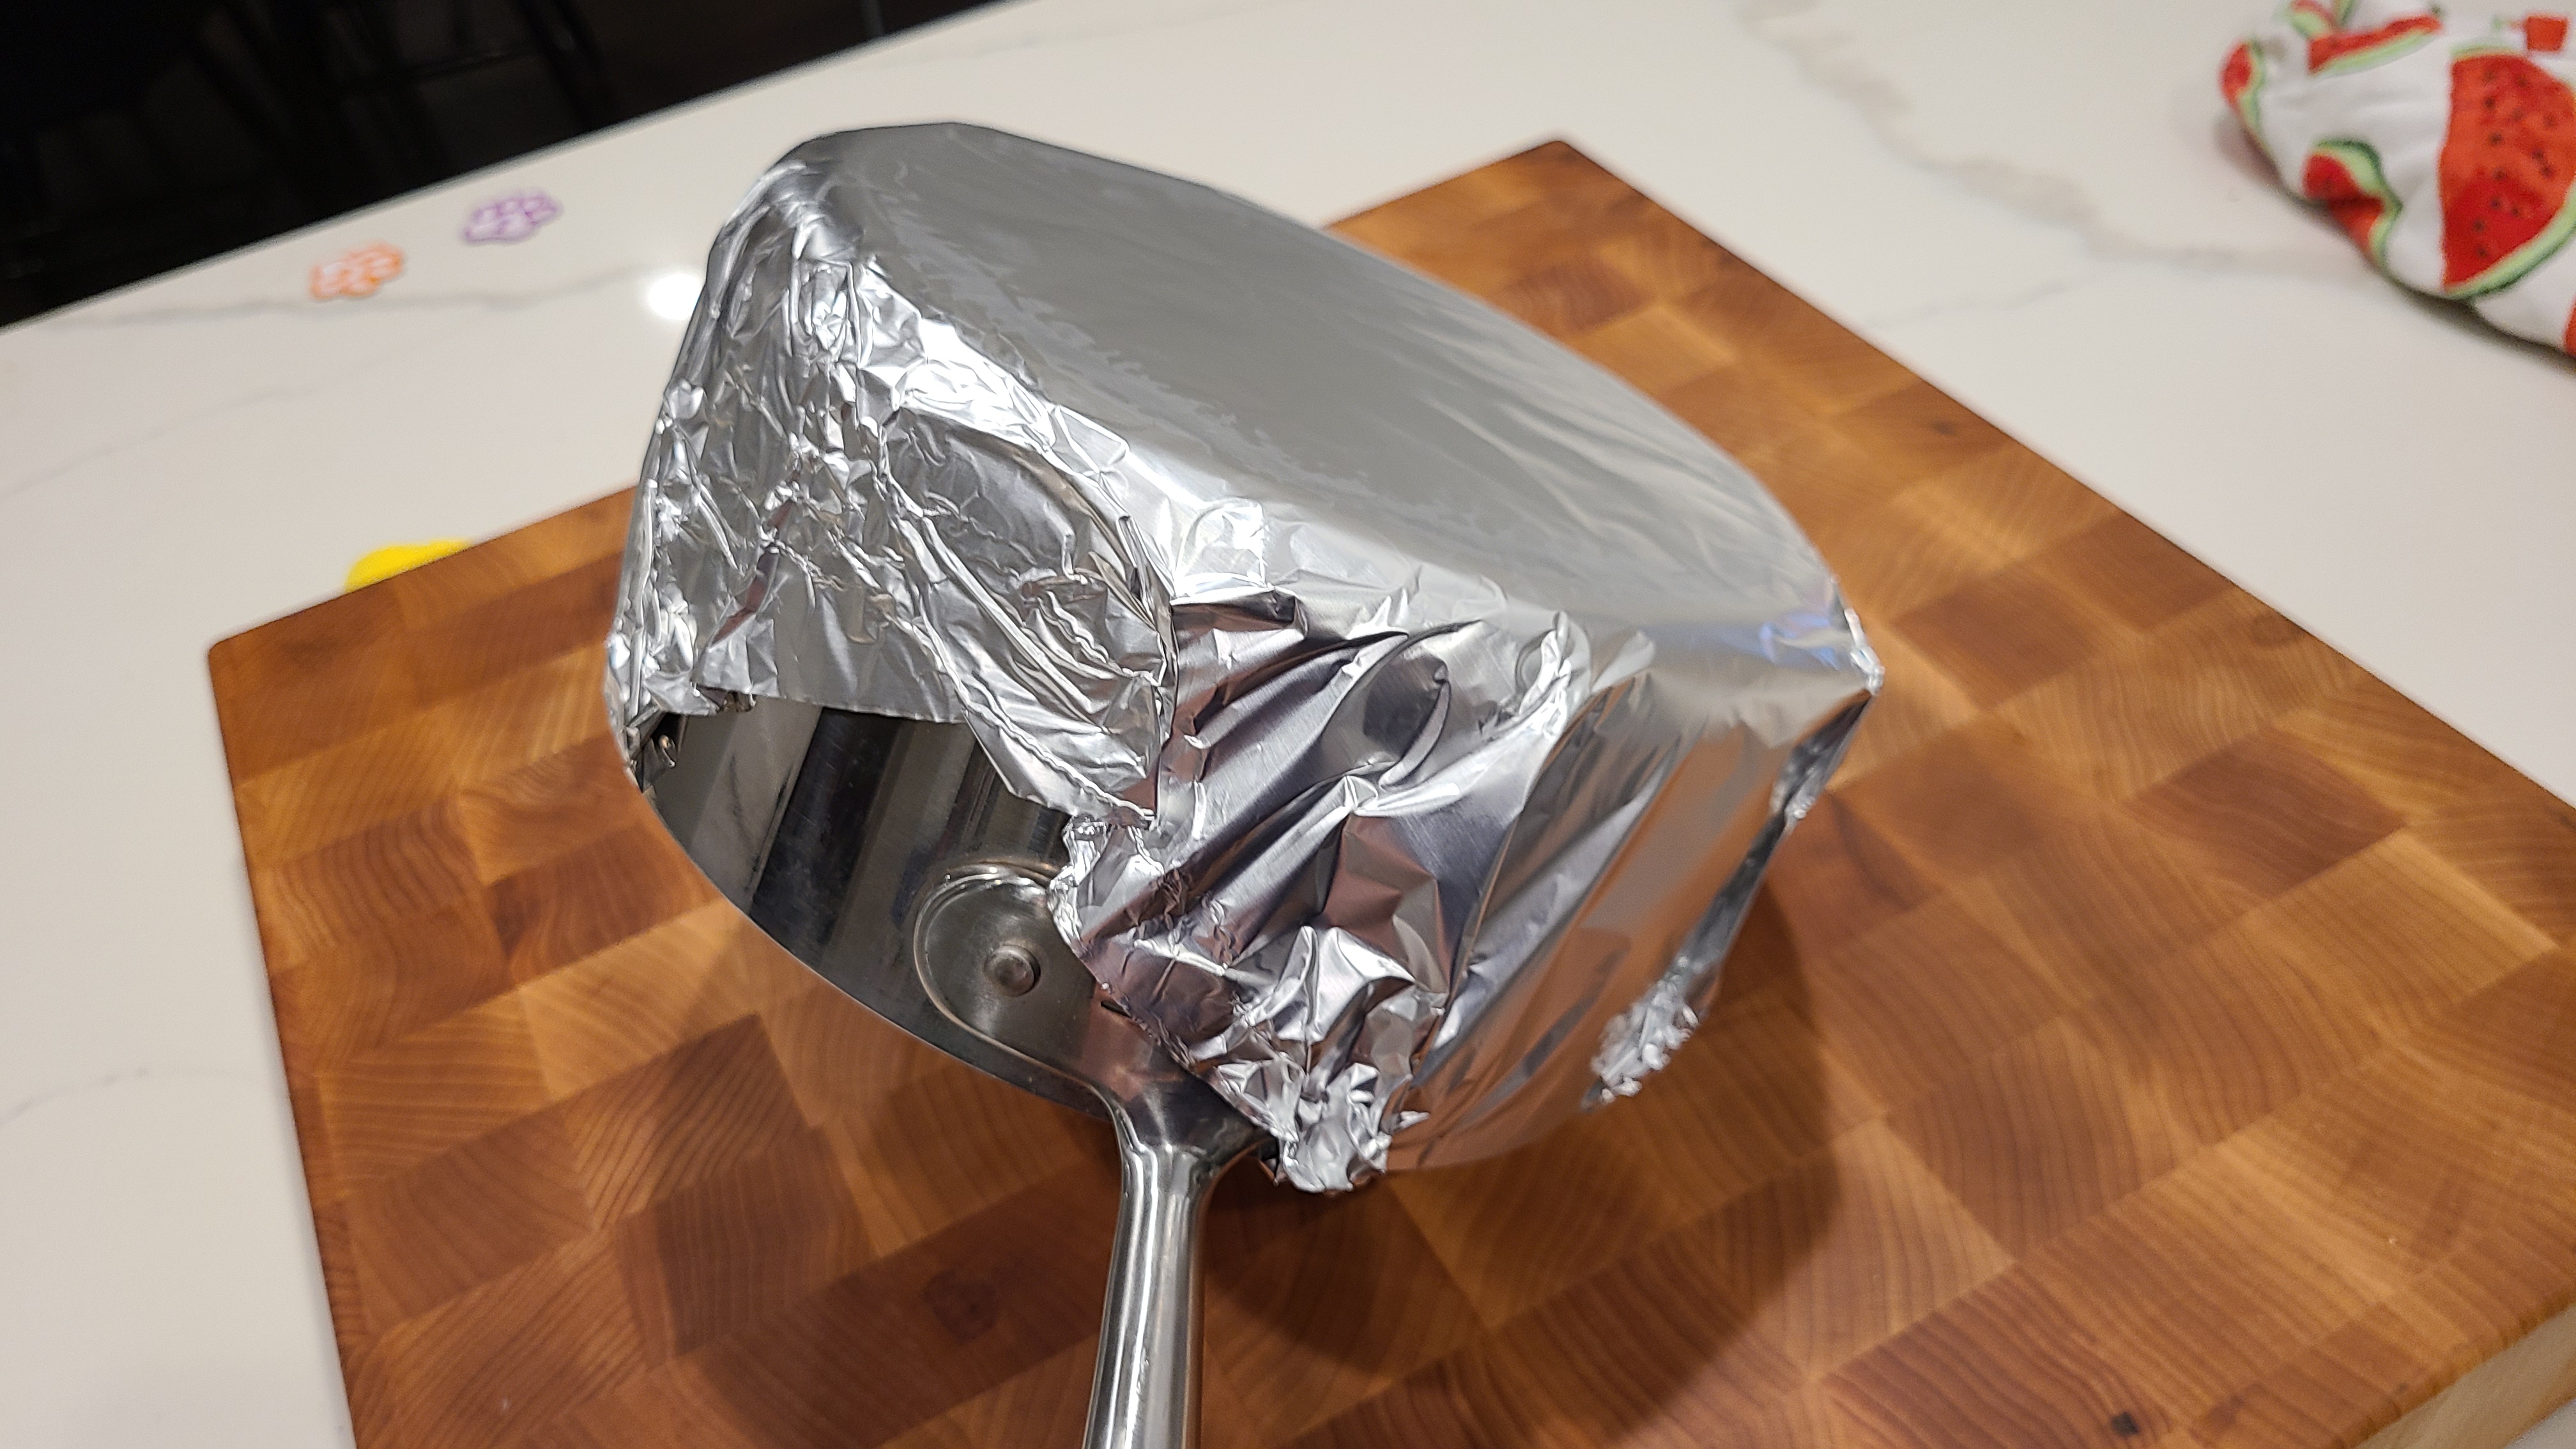
- There are special tools you can get (like a grill press) but a sauce pan will do the trick too
- HINT: I cover the bottom of my sauce pan in aluminum foil (one less thing to clean)
Ingredients:
- 1 lb of high fat content burger meat (like 80-20) – divided into 6 equal pieces
- salt and pepper
- American cheese
- buns
- Shredded lettuce
- My smash burger fancy sauce
How to do it:
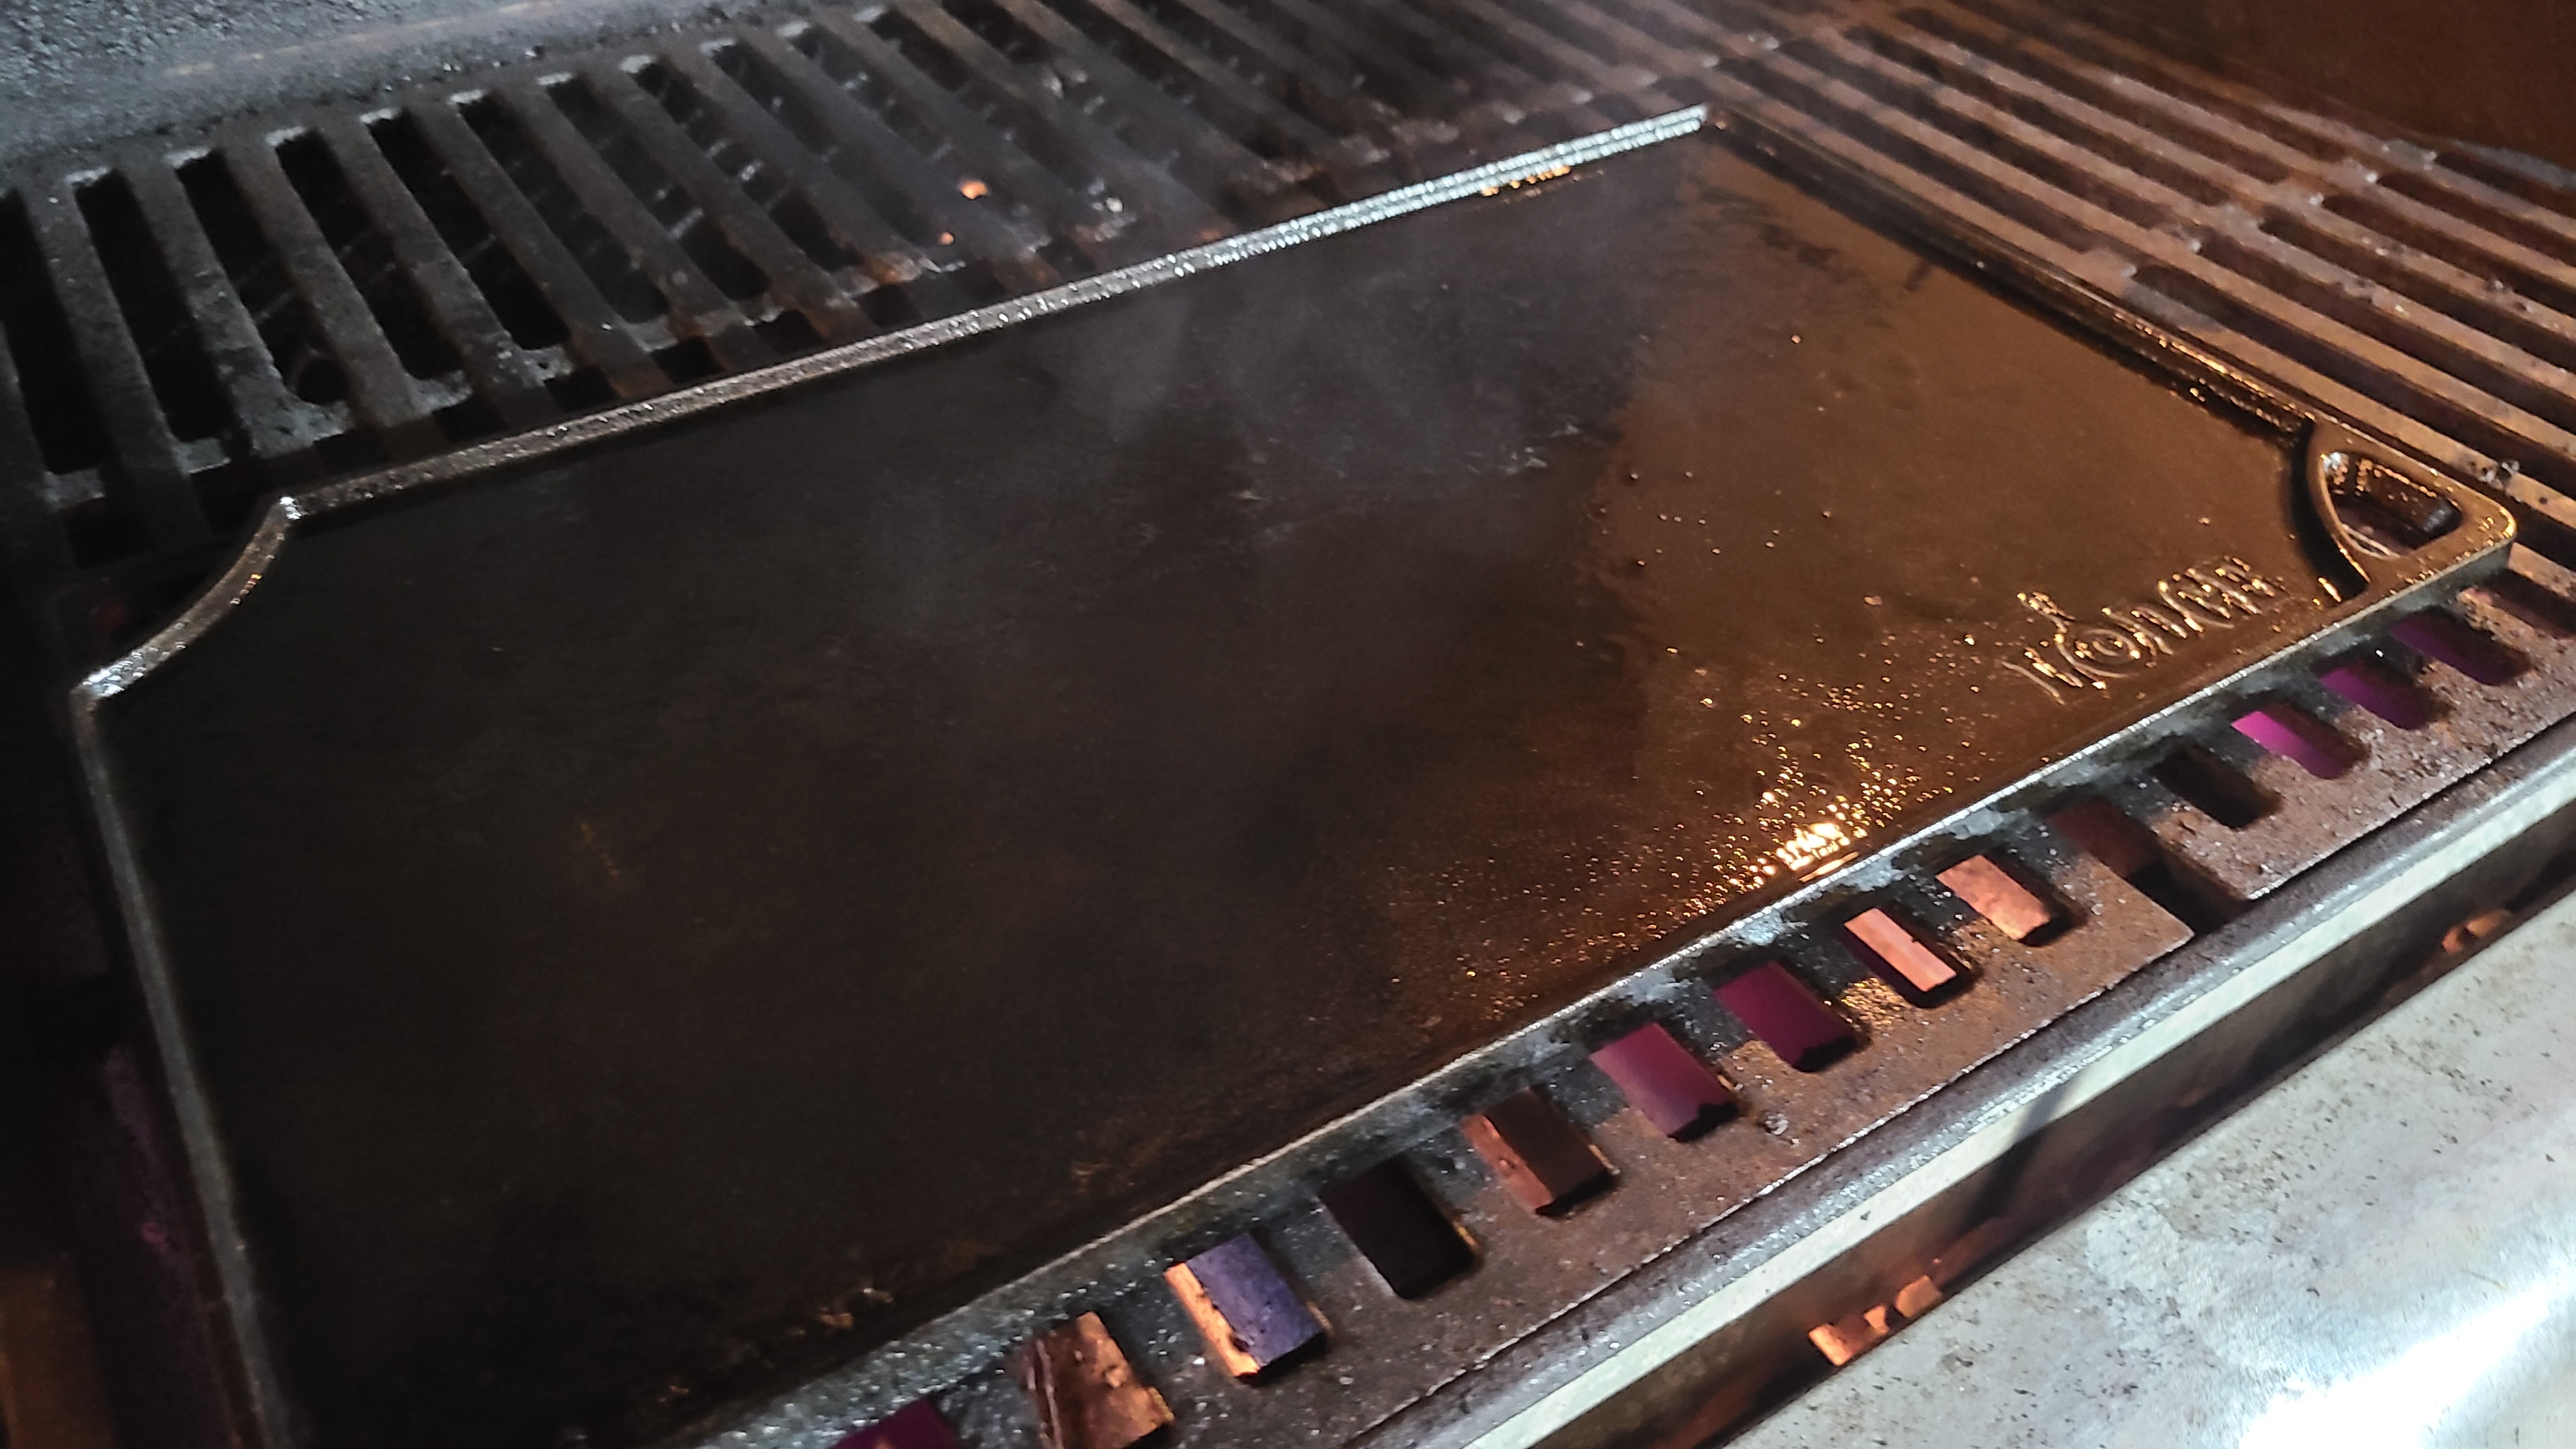
- Choose your heat source, and set your cooking surface over high heat. Let it get – like I said before – SCREAMING hot
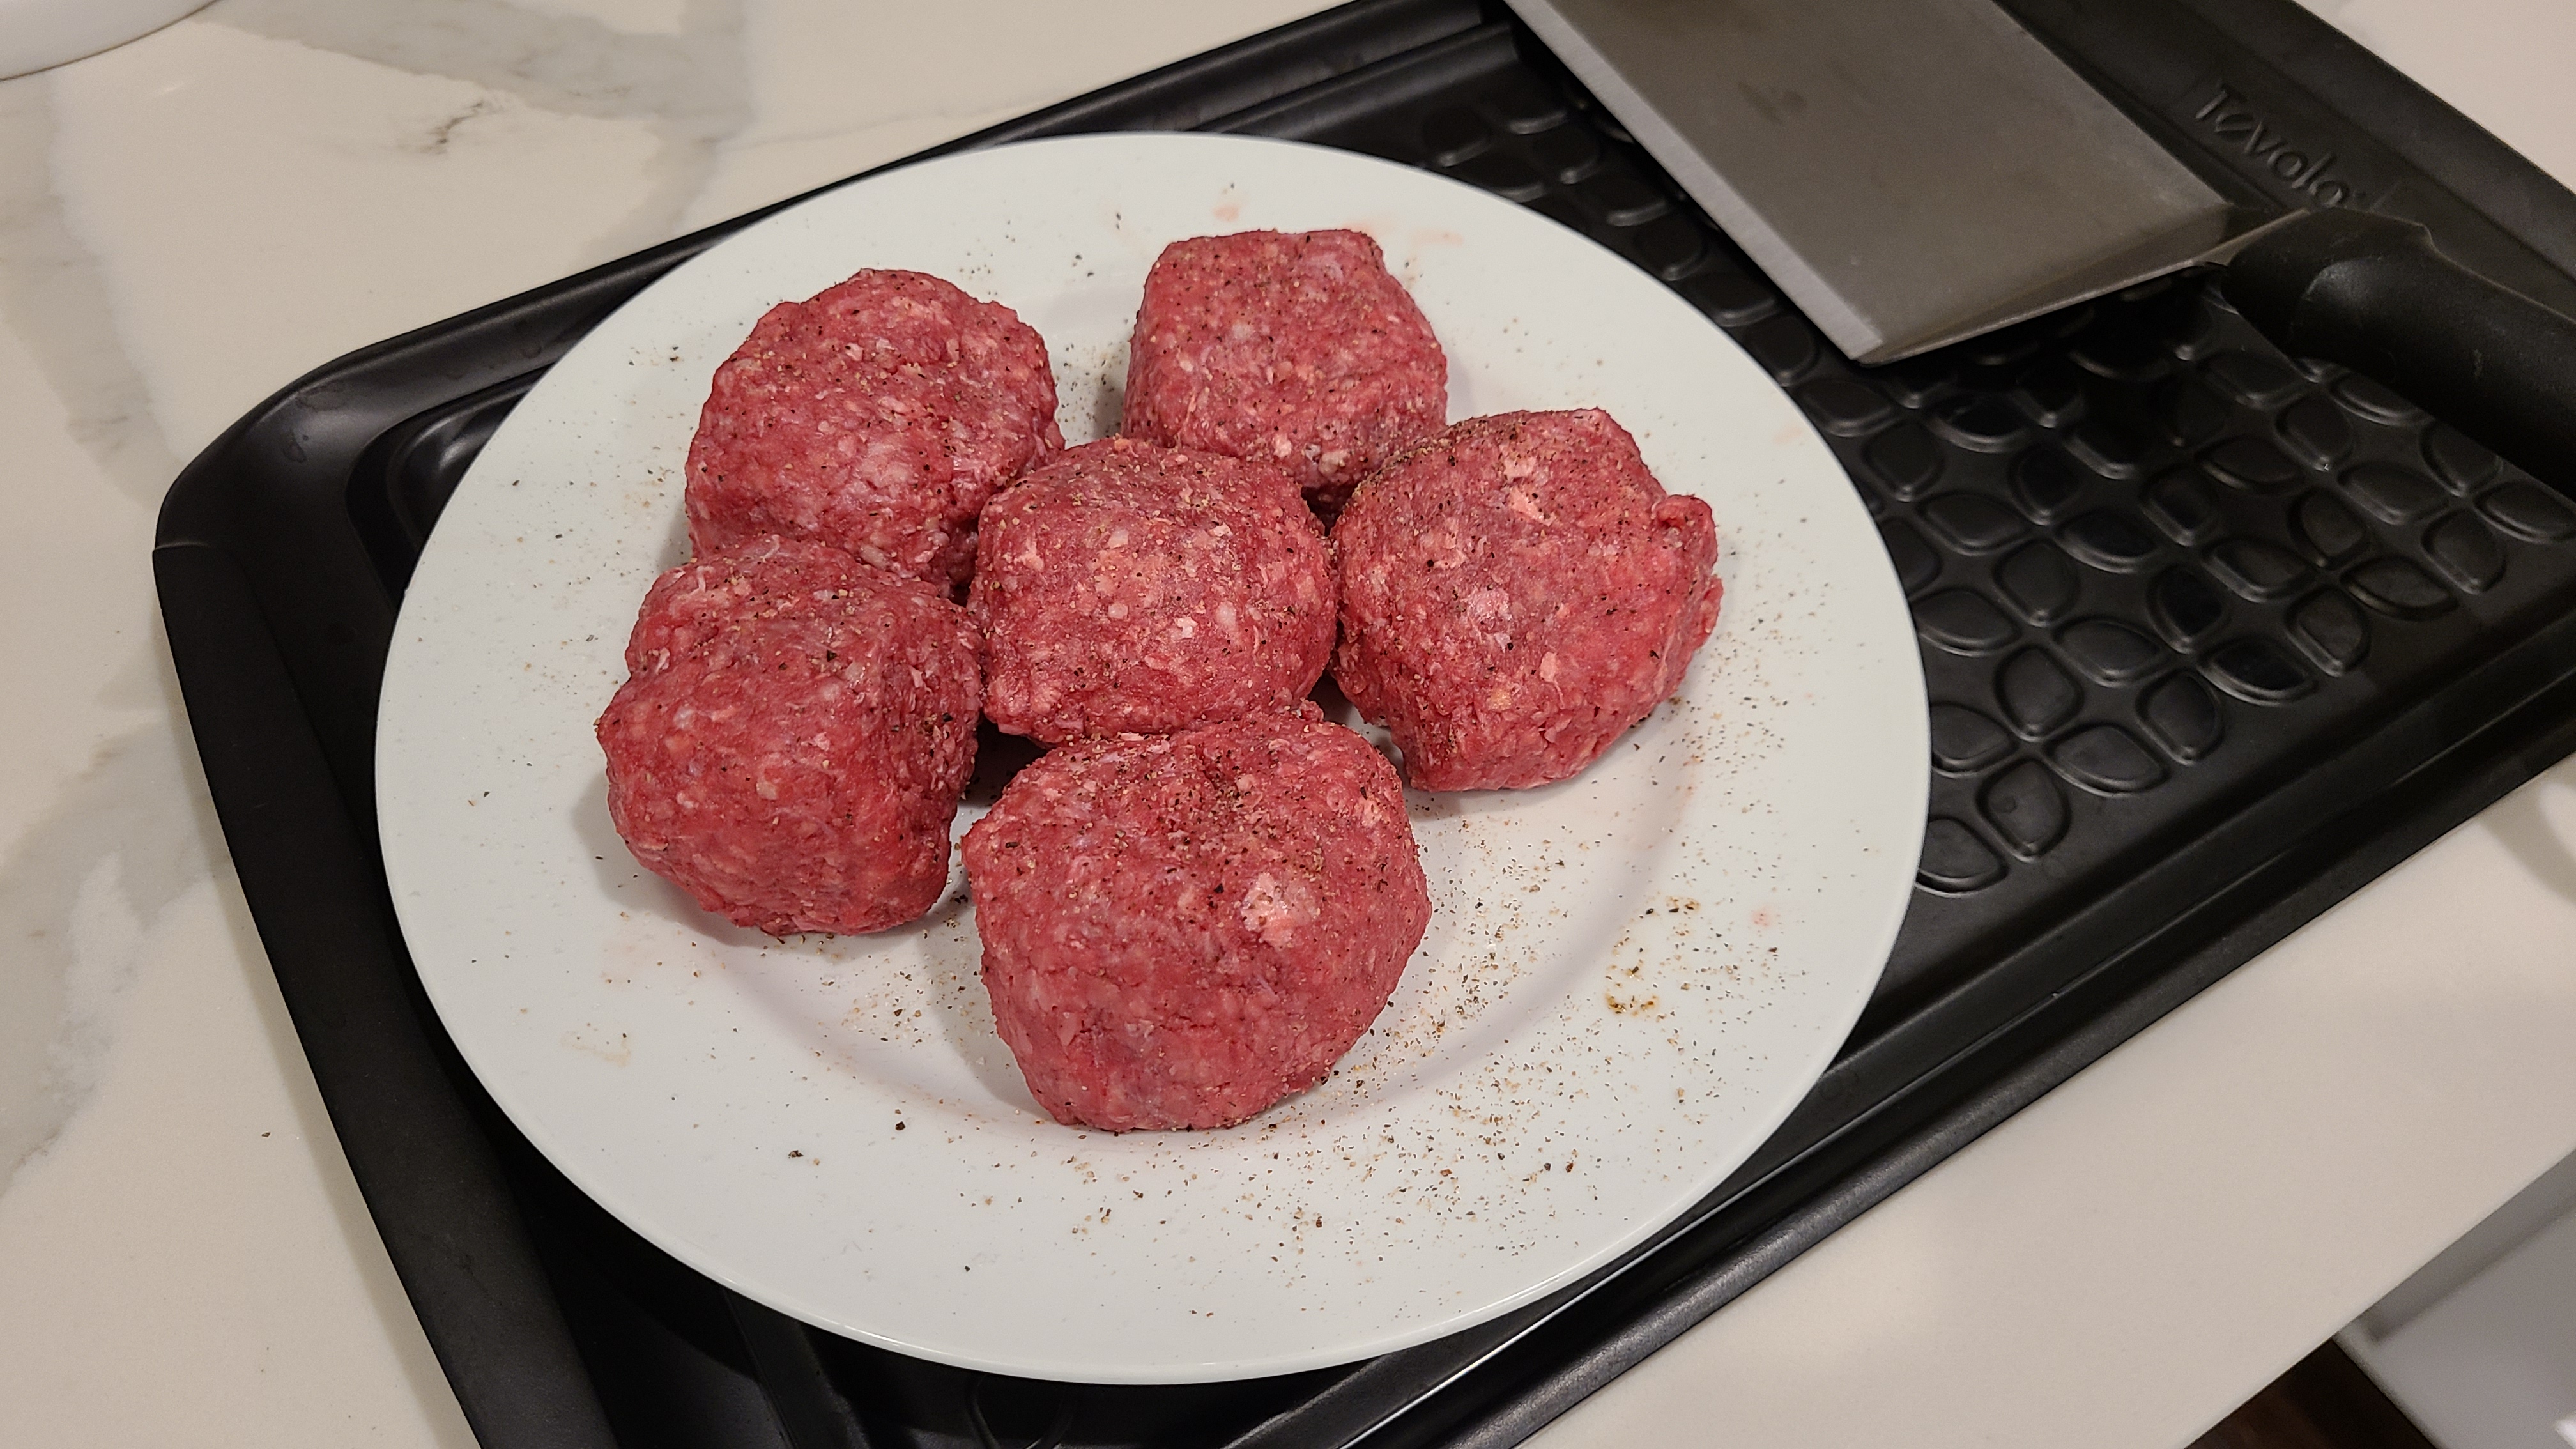
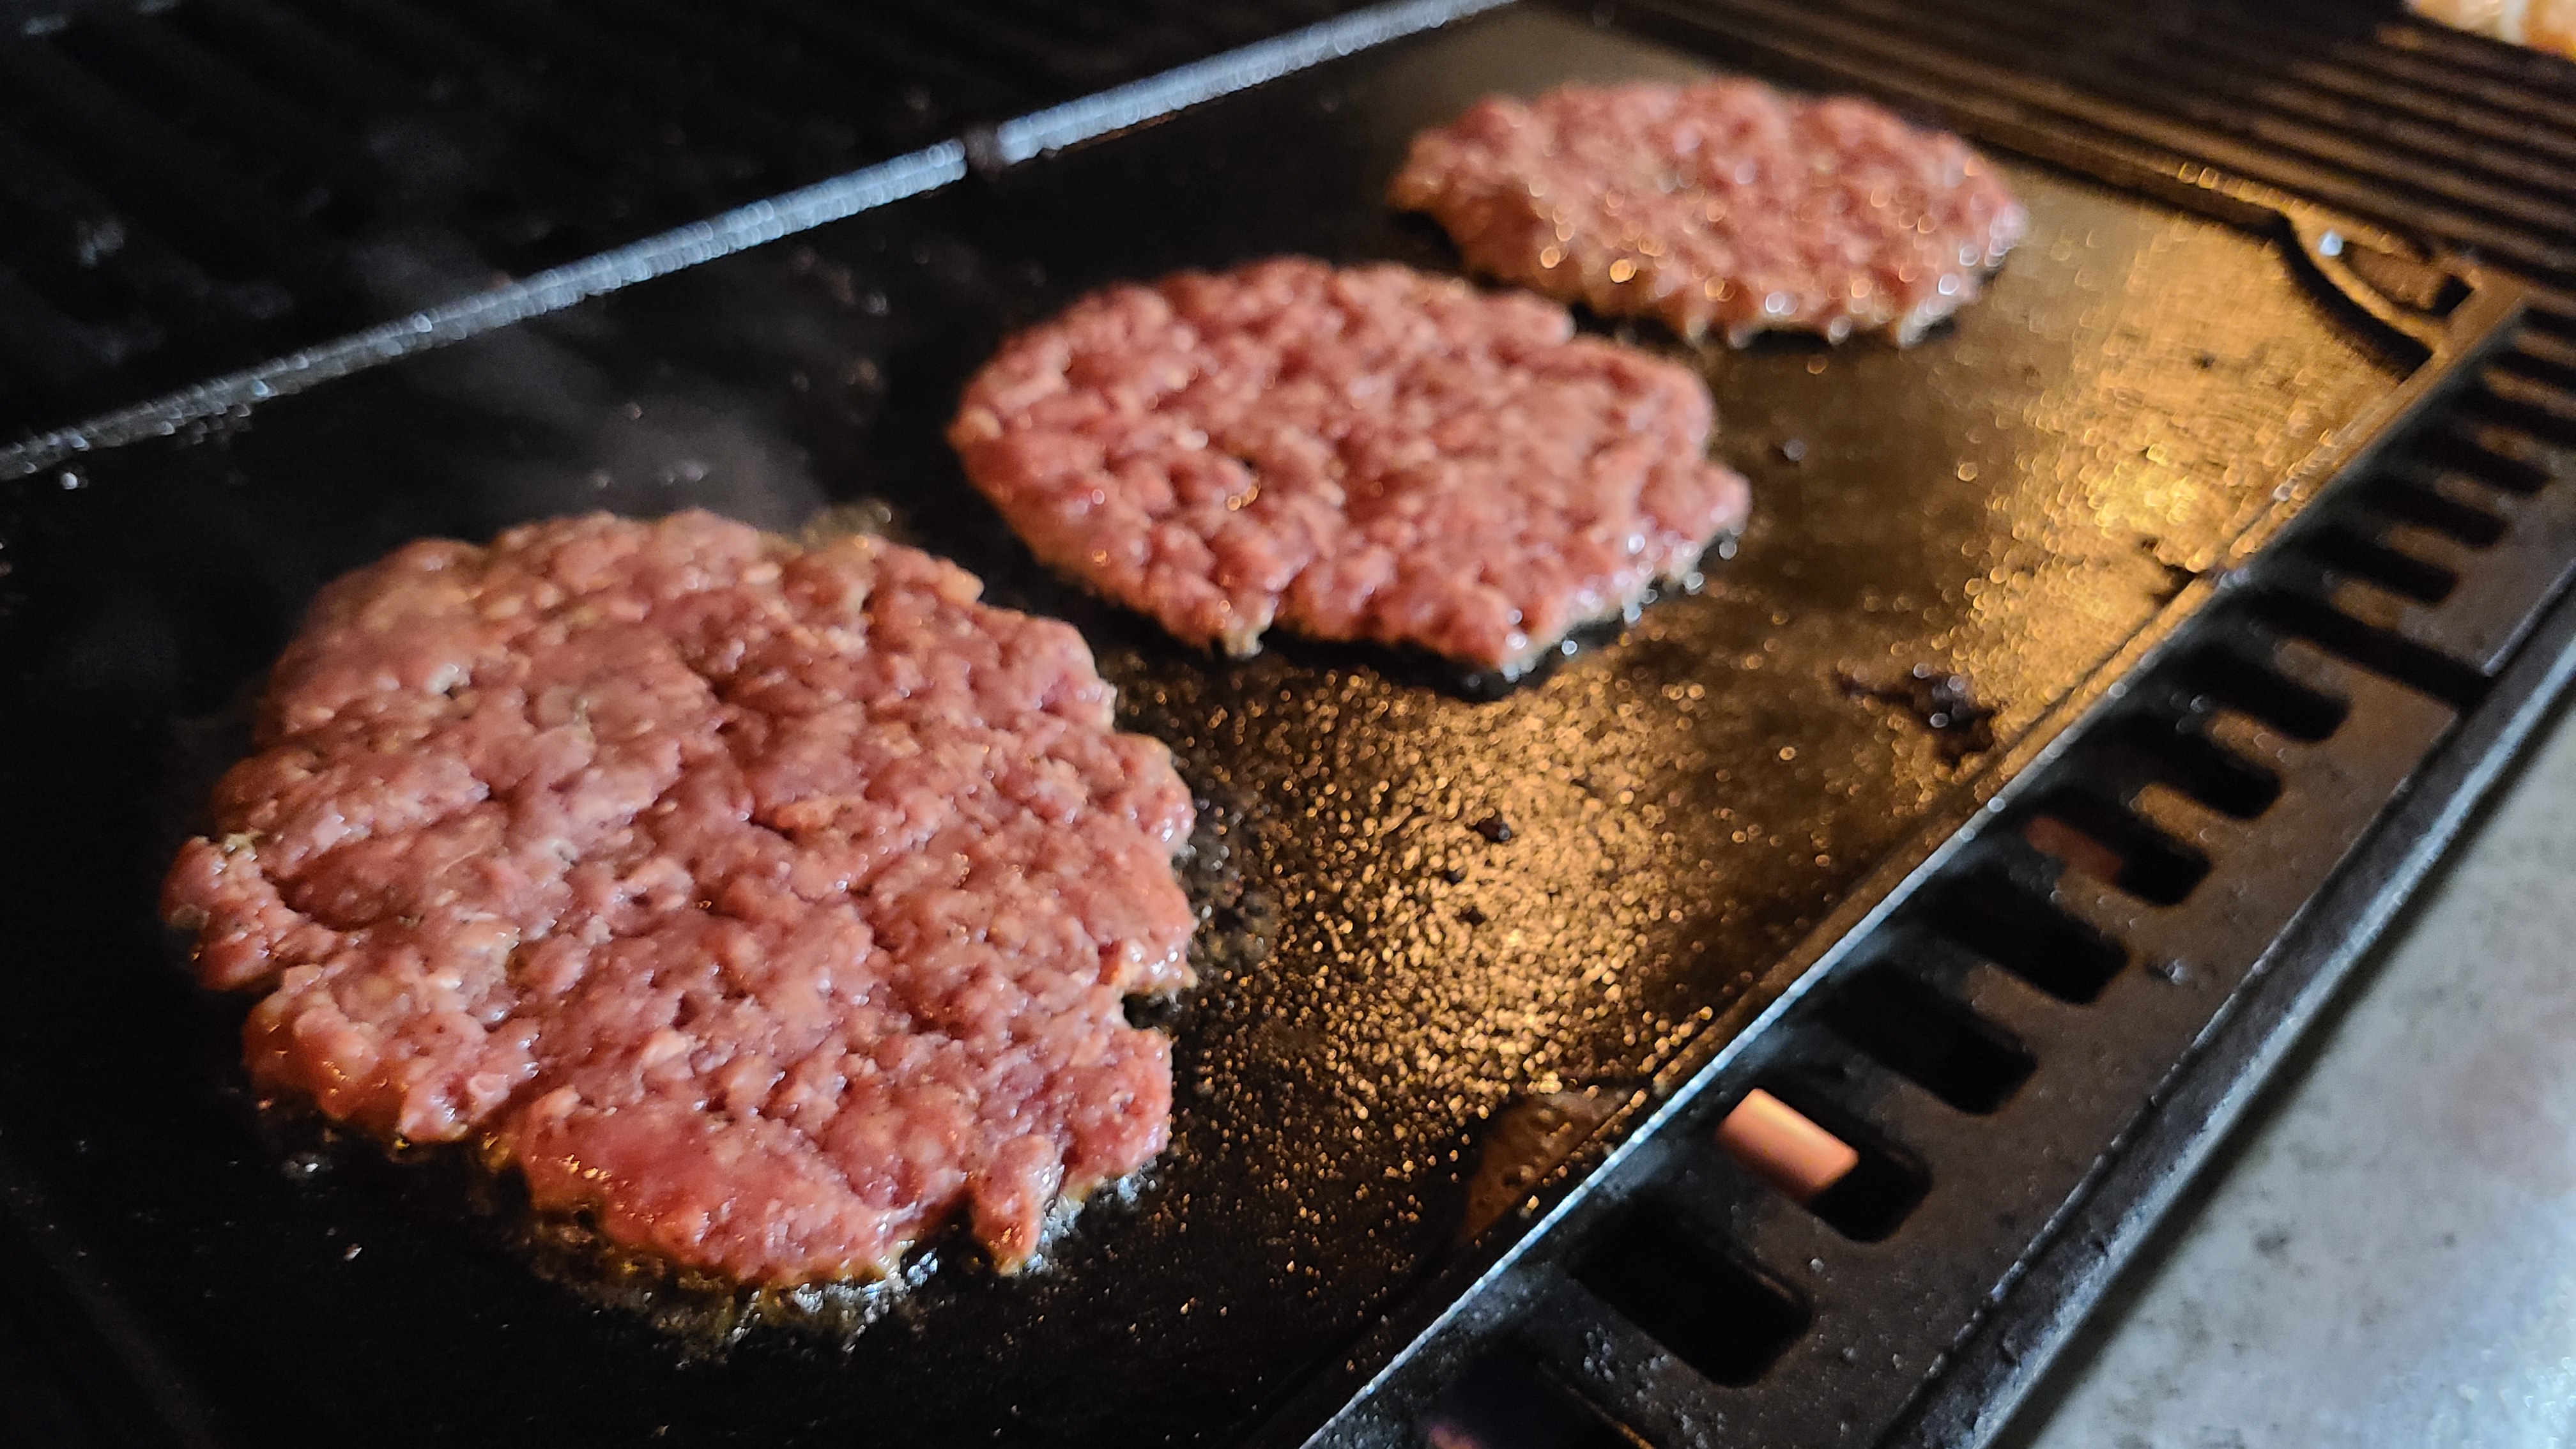
- Divide the meat and make little meatballs.
- There are a few schools of thought here. If you want a quarter pounder, you need to form either 4oz balls (for a single) or 2 oz balls (for a double). I’ve found that the 4 oz patties are too big, both for my griddle and for an average burger bun. The 2 oz method is more of a standard smash burger, fit on the bun really well, and are easy to handle. 2 oz burgers are a good place to start (that means 8 balls per lb. of meat)
- Here’s the thing though, based on my experimentation so far, I’ve found that it’s best to divide the pound of burger into 6 equal pieces. This is easy to do if you get one of those bricks of beef (such an appealing image, right?) and use a large knife to slice it up equally. With this method you get pieces that are roughly 2.6 oz, and fit perfectly on a standard burger bun, with just a LITTLE bit of that camera-ready overflow that we know and love.
- A note on seasoning: I like some salt and pepper on the burger. I’ve tried it both pre-seasoned, and by seasoning after the burger is on the griddle (which is the normally-recommended method). I like the pre-seasoned route, but I’d recommend that you try both out for yourself, and see what you like better. Worst case scenario, you have to eat more burgers. *sarcastic* OH NOOOO!!!
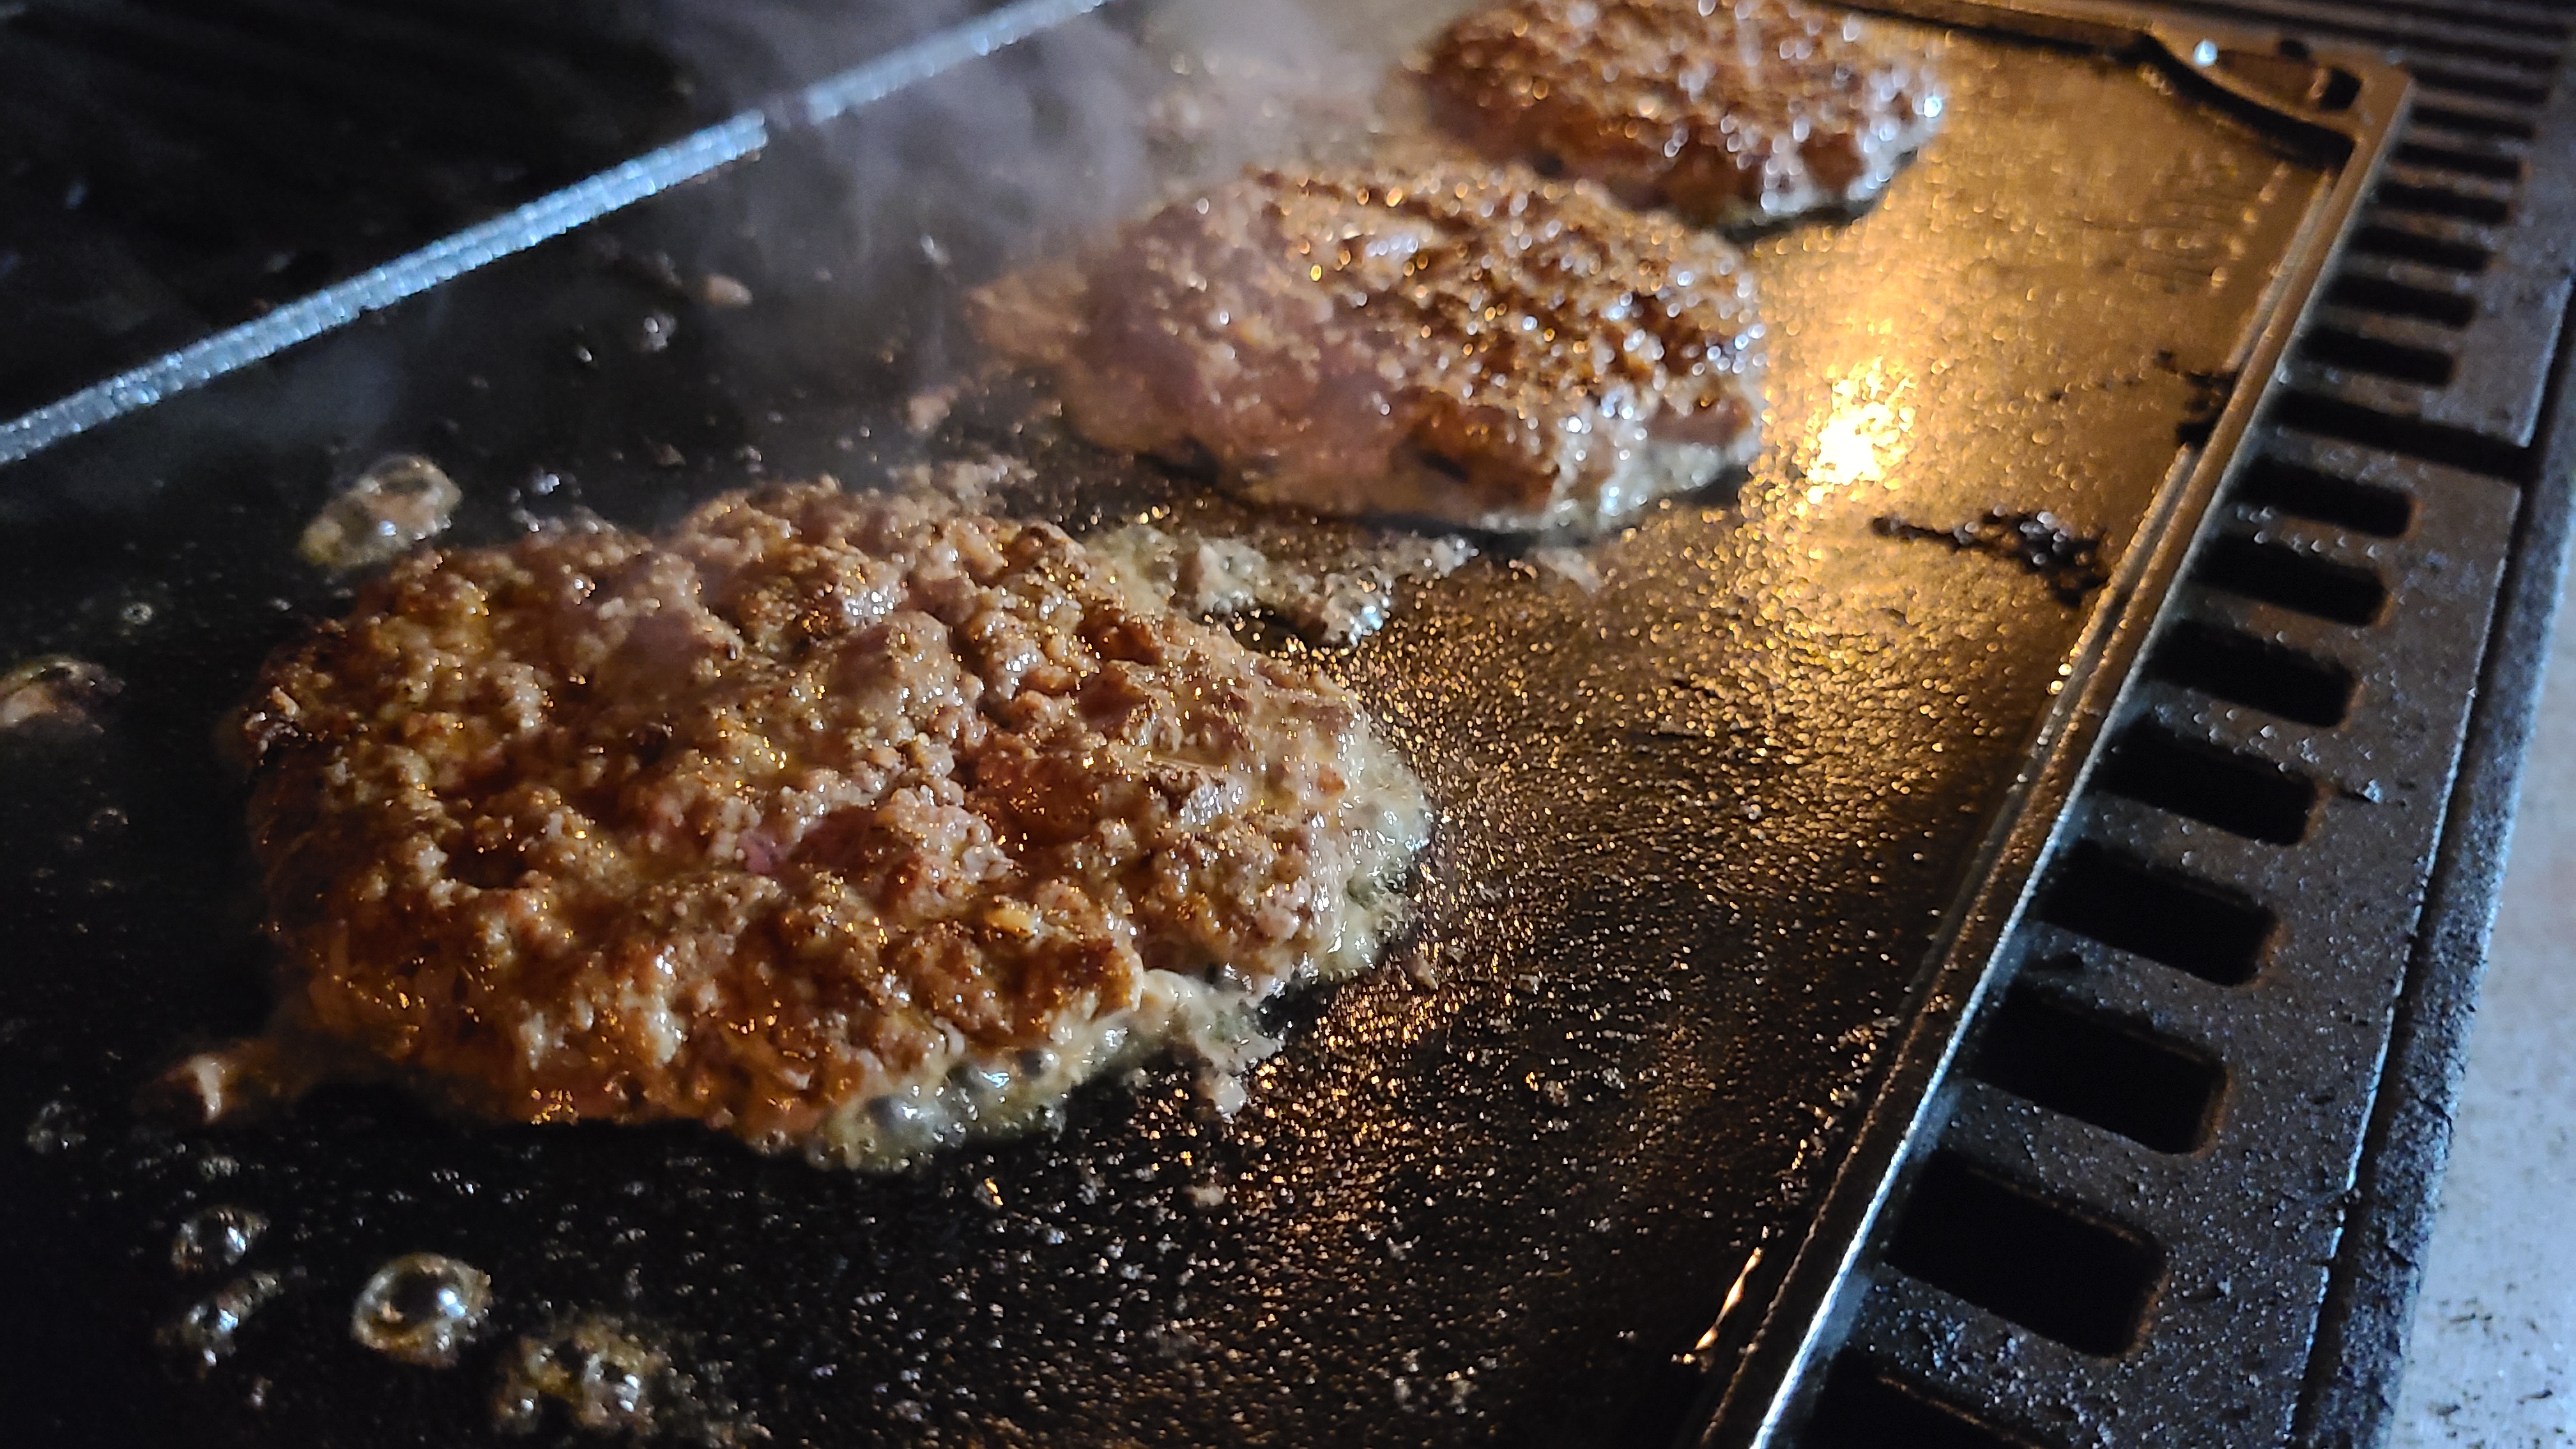
- When the pan or griddle is hot – remember; HOT – it’s time to cook. You can apply a little bit of oil if you like, but it’s not necessary, since the fat in the burger meat provides more than enough grease for the pan.
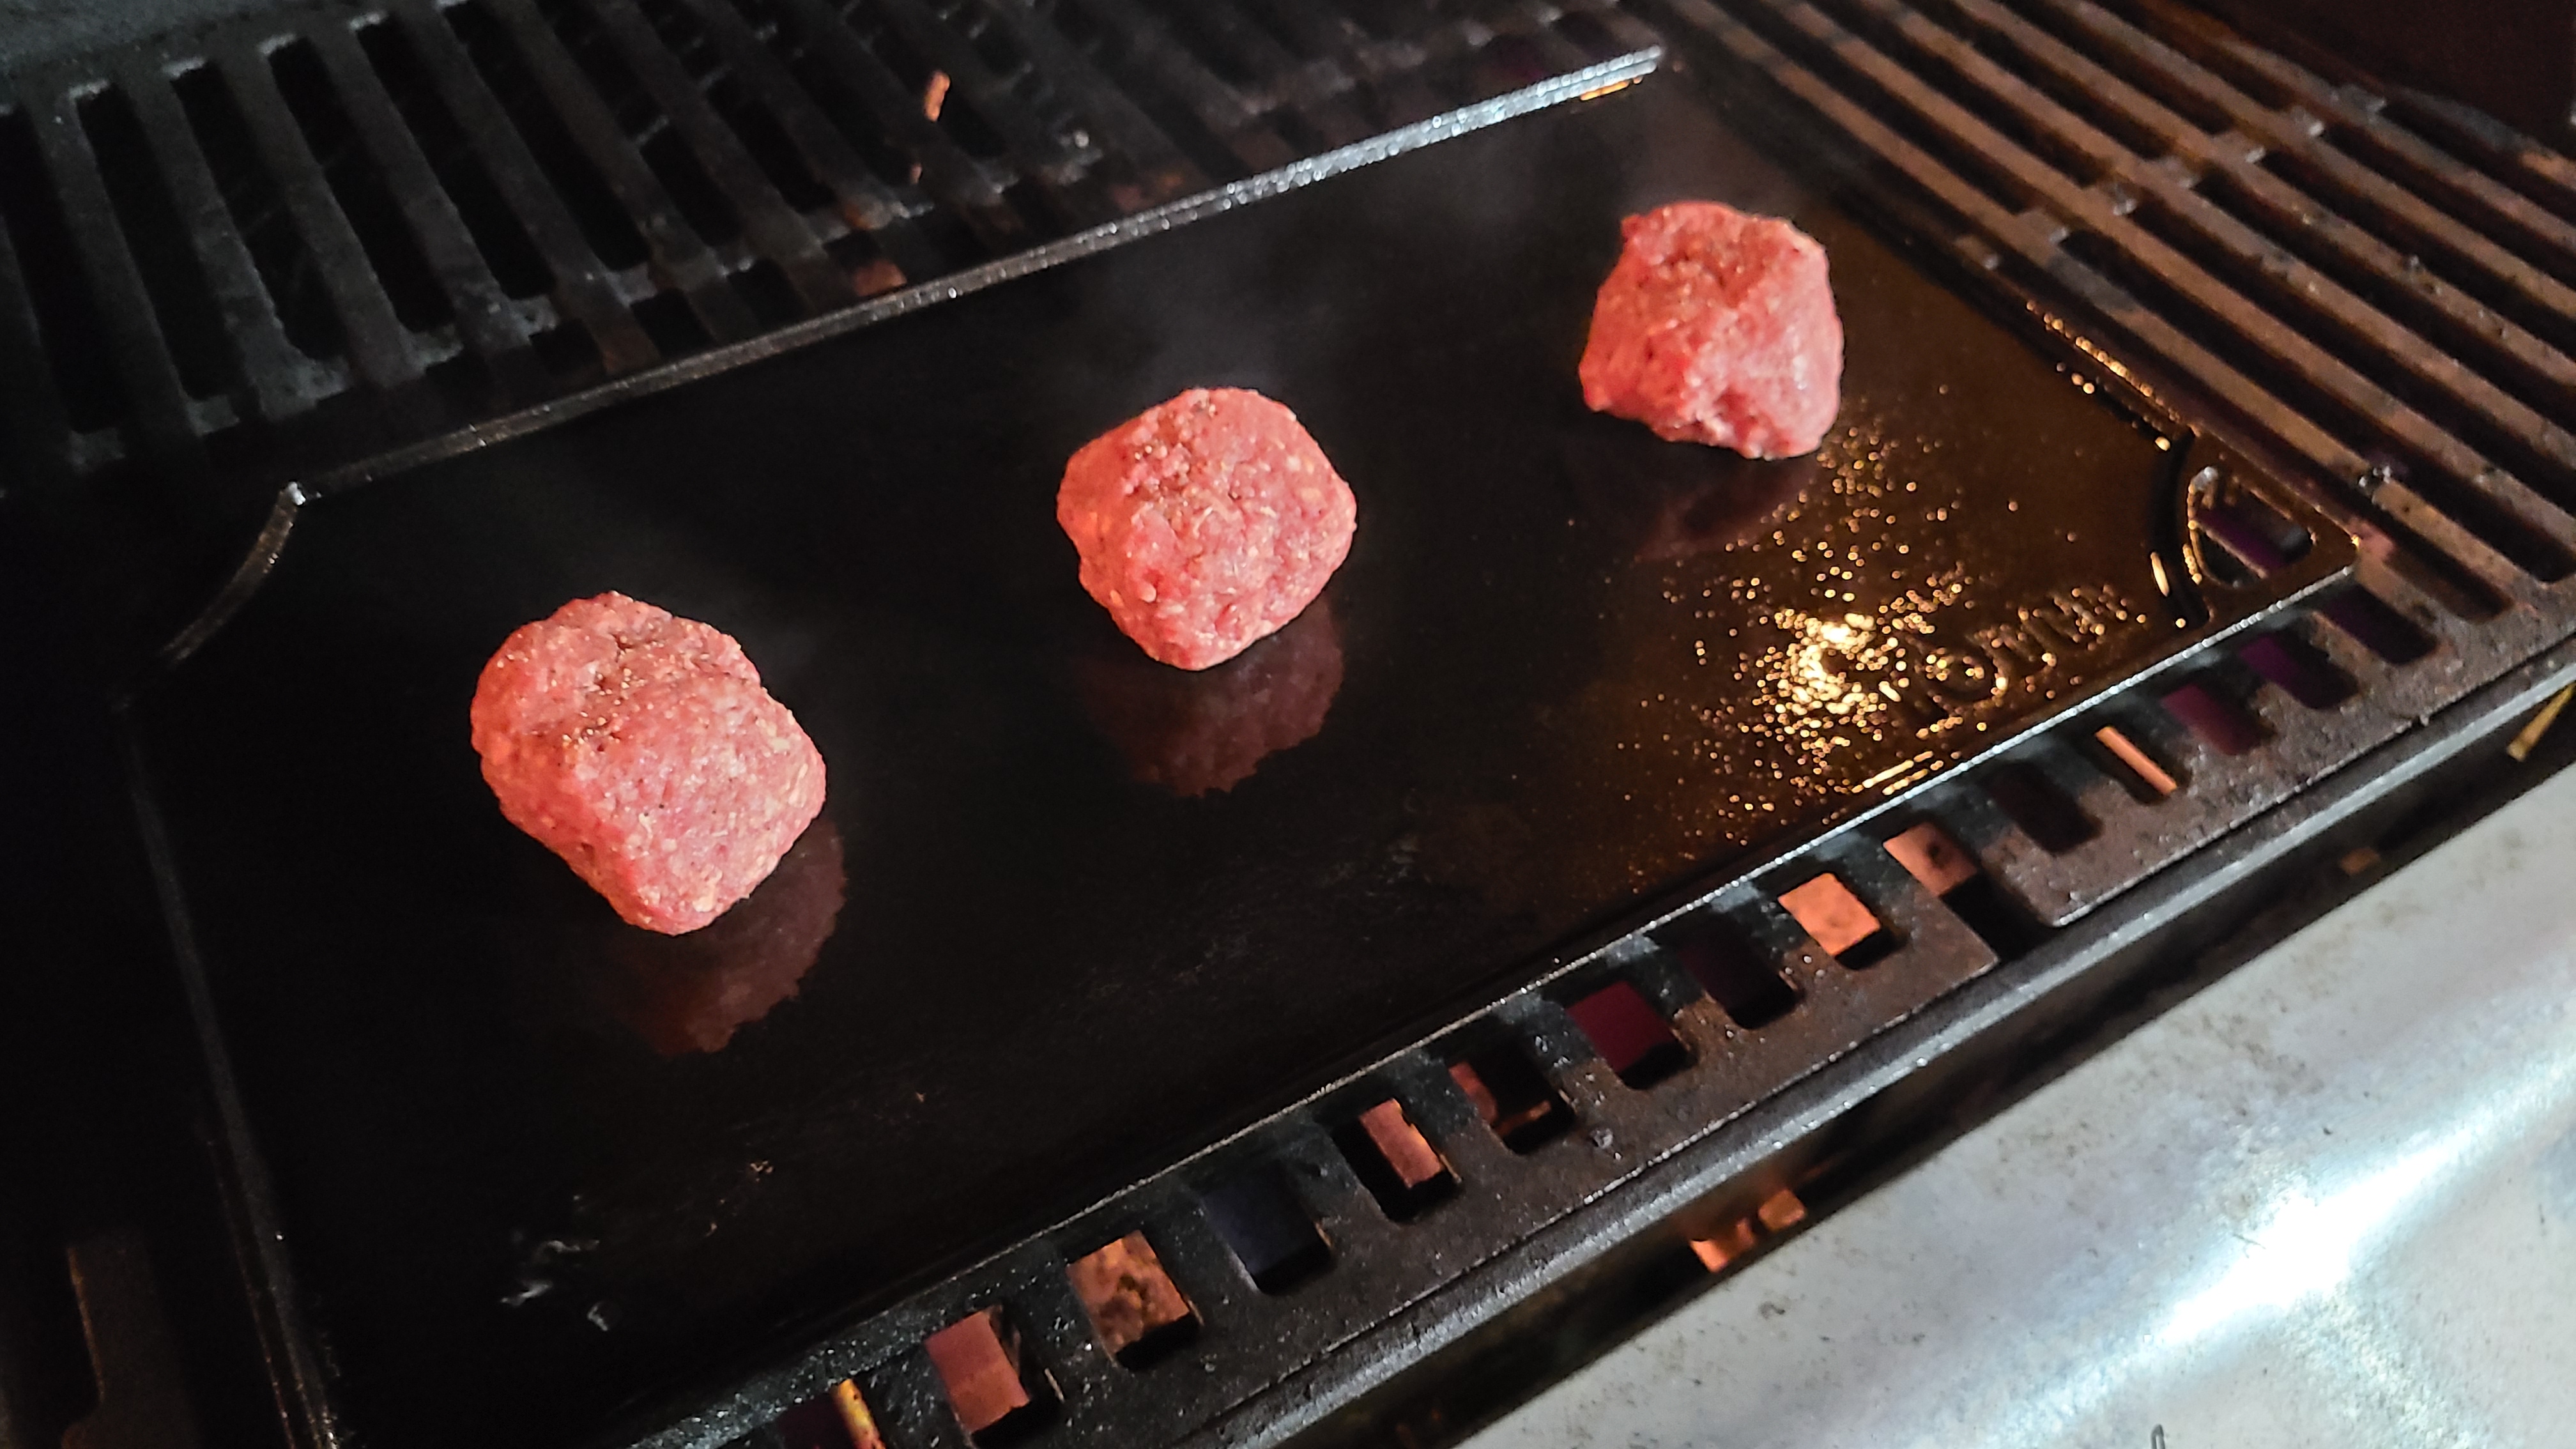
- Drop the balls of burger onto the hot surface, if they’re pre-seasoned, then it’s time to smash. If you have not yet seasoned them, give each ball a good dusting of salt and pepper.
- Smash the burgers into the grill with your smasher of choice. Press down hard and get them nice and flat. Note that the smash-surface (be it a spatula, pan or other tool) will tend to stick to the meat when you press down. That means if you try to pick it straight up, the burger will stick to the surface, and tear your burger apart. That’s why you have to practice the ‘smash and slide’: smush the burger down, and then gently slide off to the side. If you practice, you can even give the edge of the patty an extra little squish to flatten it out and let it ‘feather’ as it cooks.
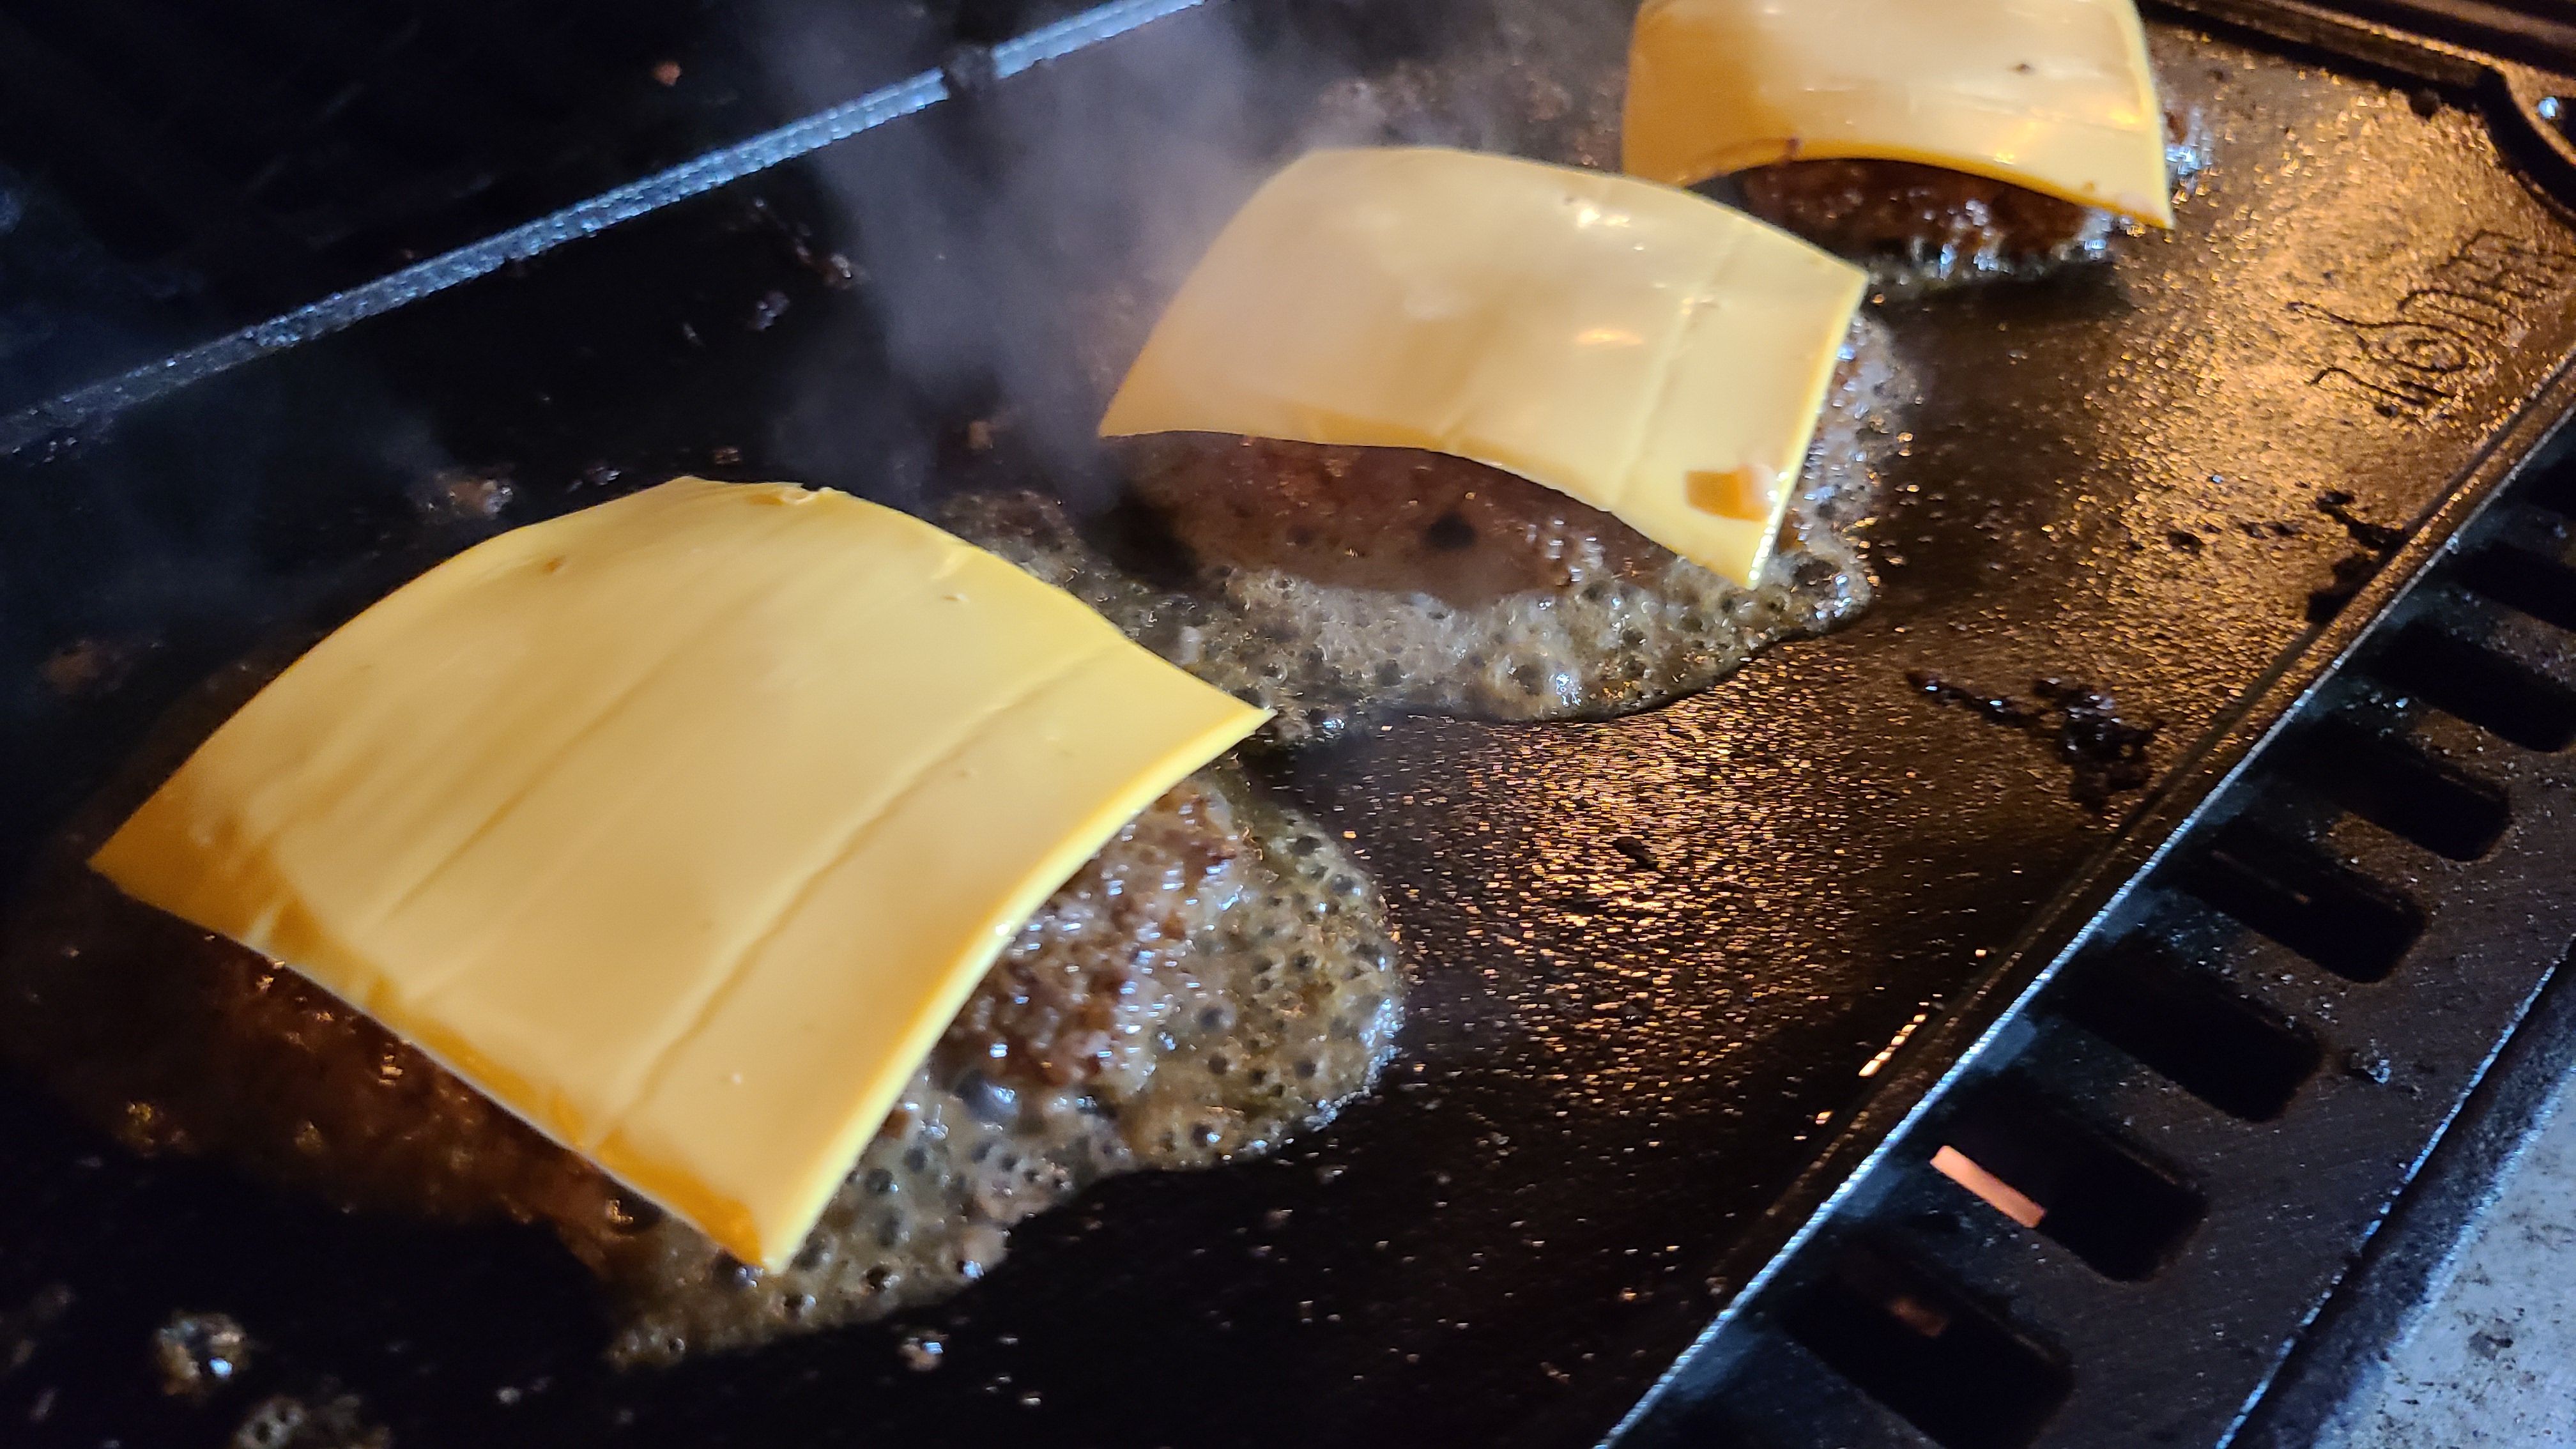
- Cook the smashed patties for 2 minutes on the first side. Then scrape them off the grill with your sharp spatula. I do mean scrape, the hot griddle and the fatty burger should produce a nice, crispy caramelization, which means that your burger is going to stick. That’s a good thing. Scrape them and flip them.
- Give your flipped patties a little smash to make sure as many parts of the patty are in contact with the hot griddle as possible, then add your cheese.
- Cook them on side 2 for two minutes, and then remove them from the cooking surface.
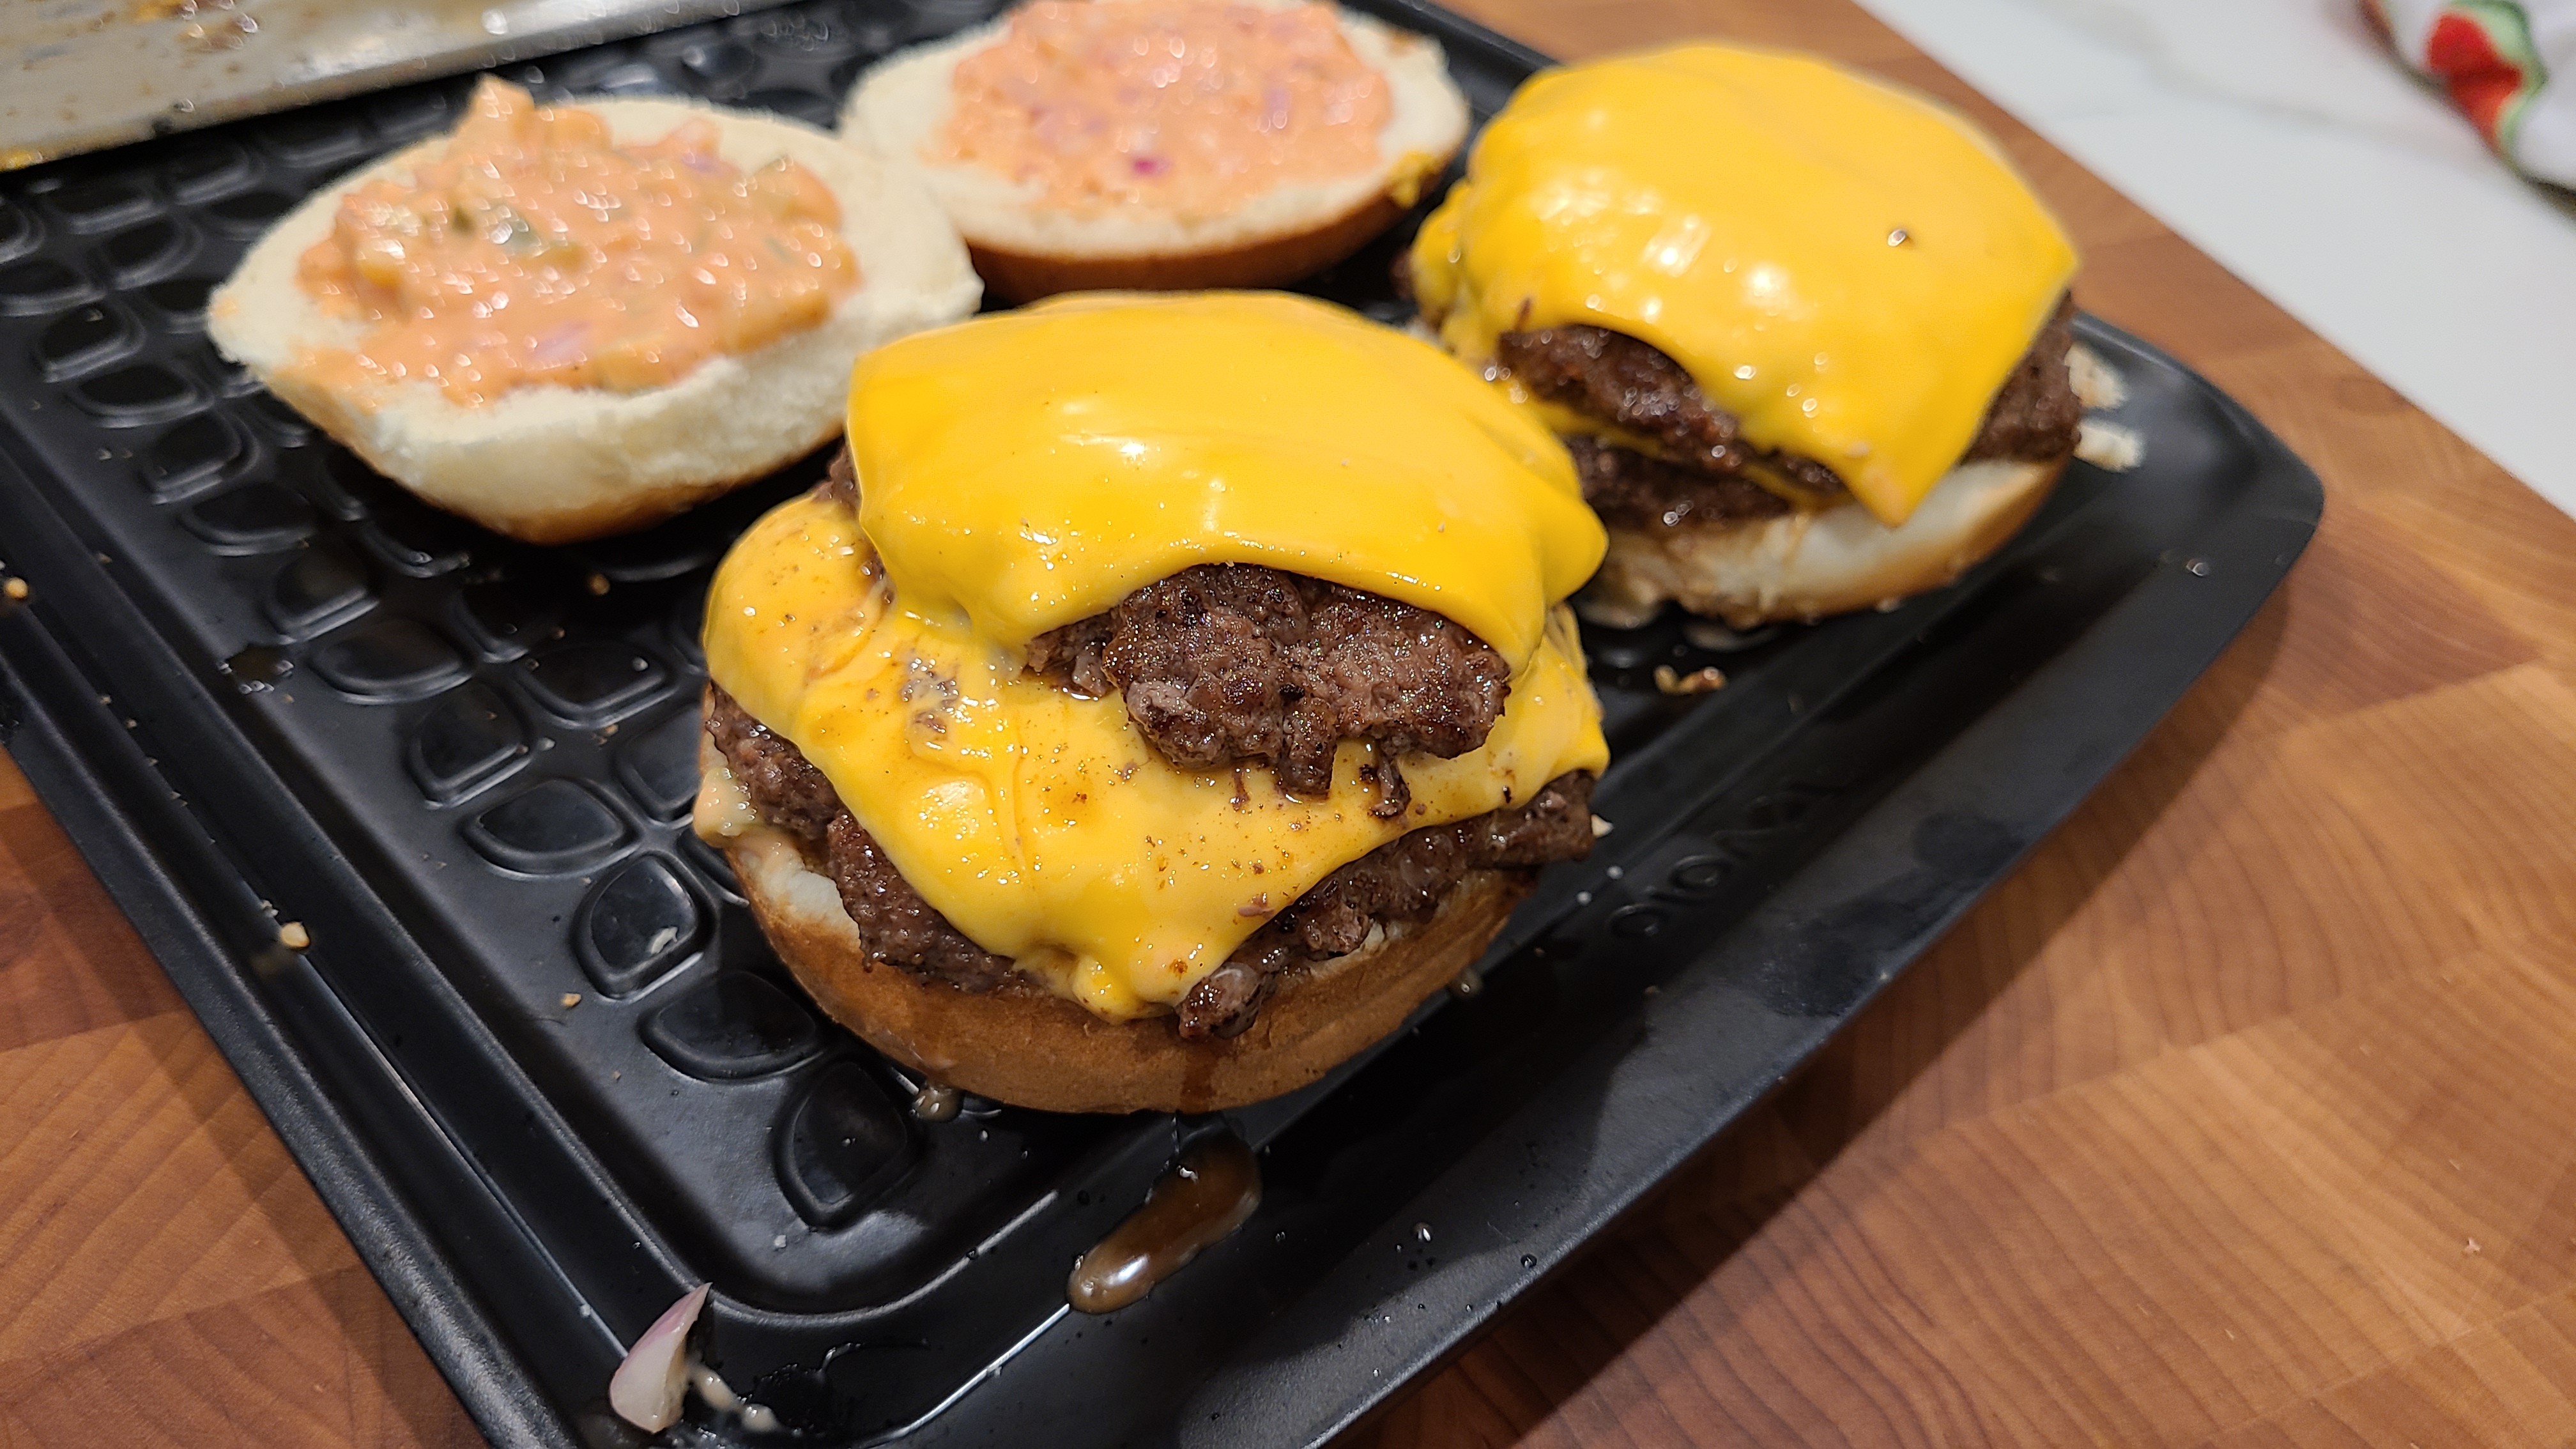
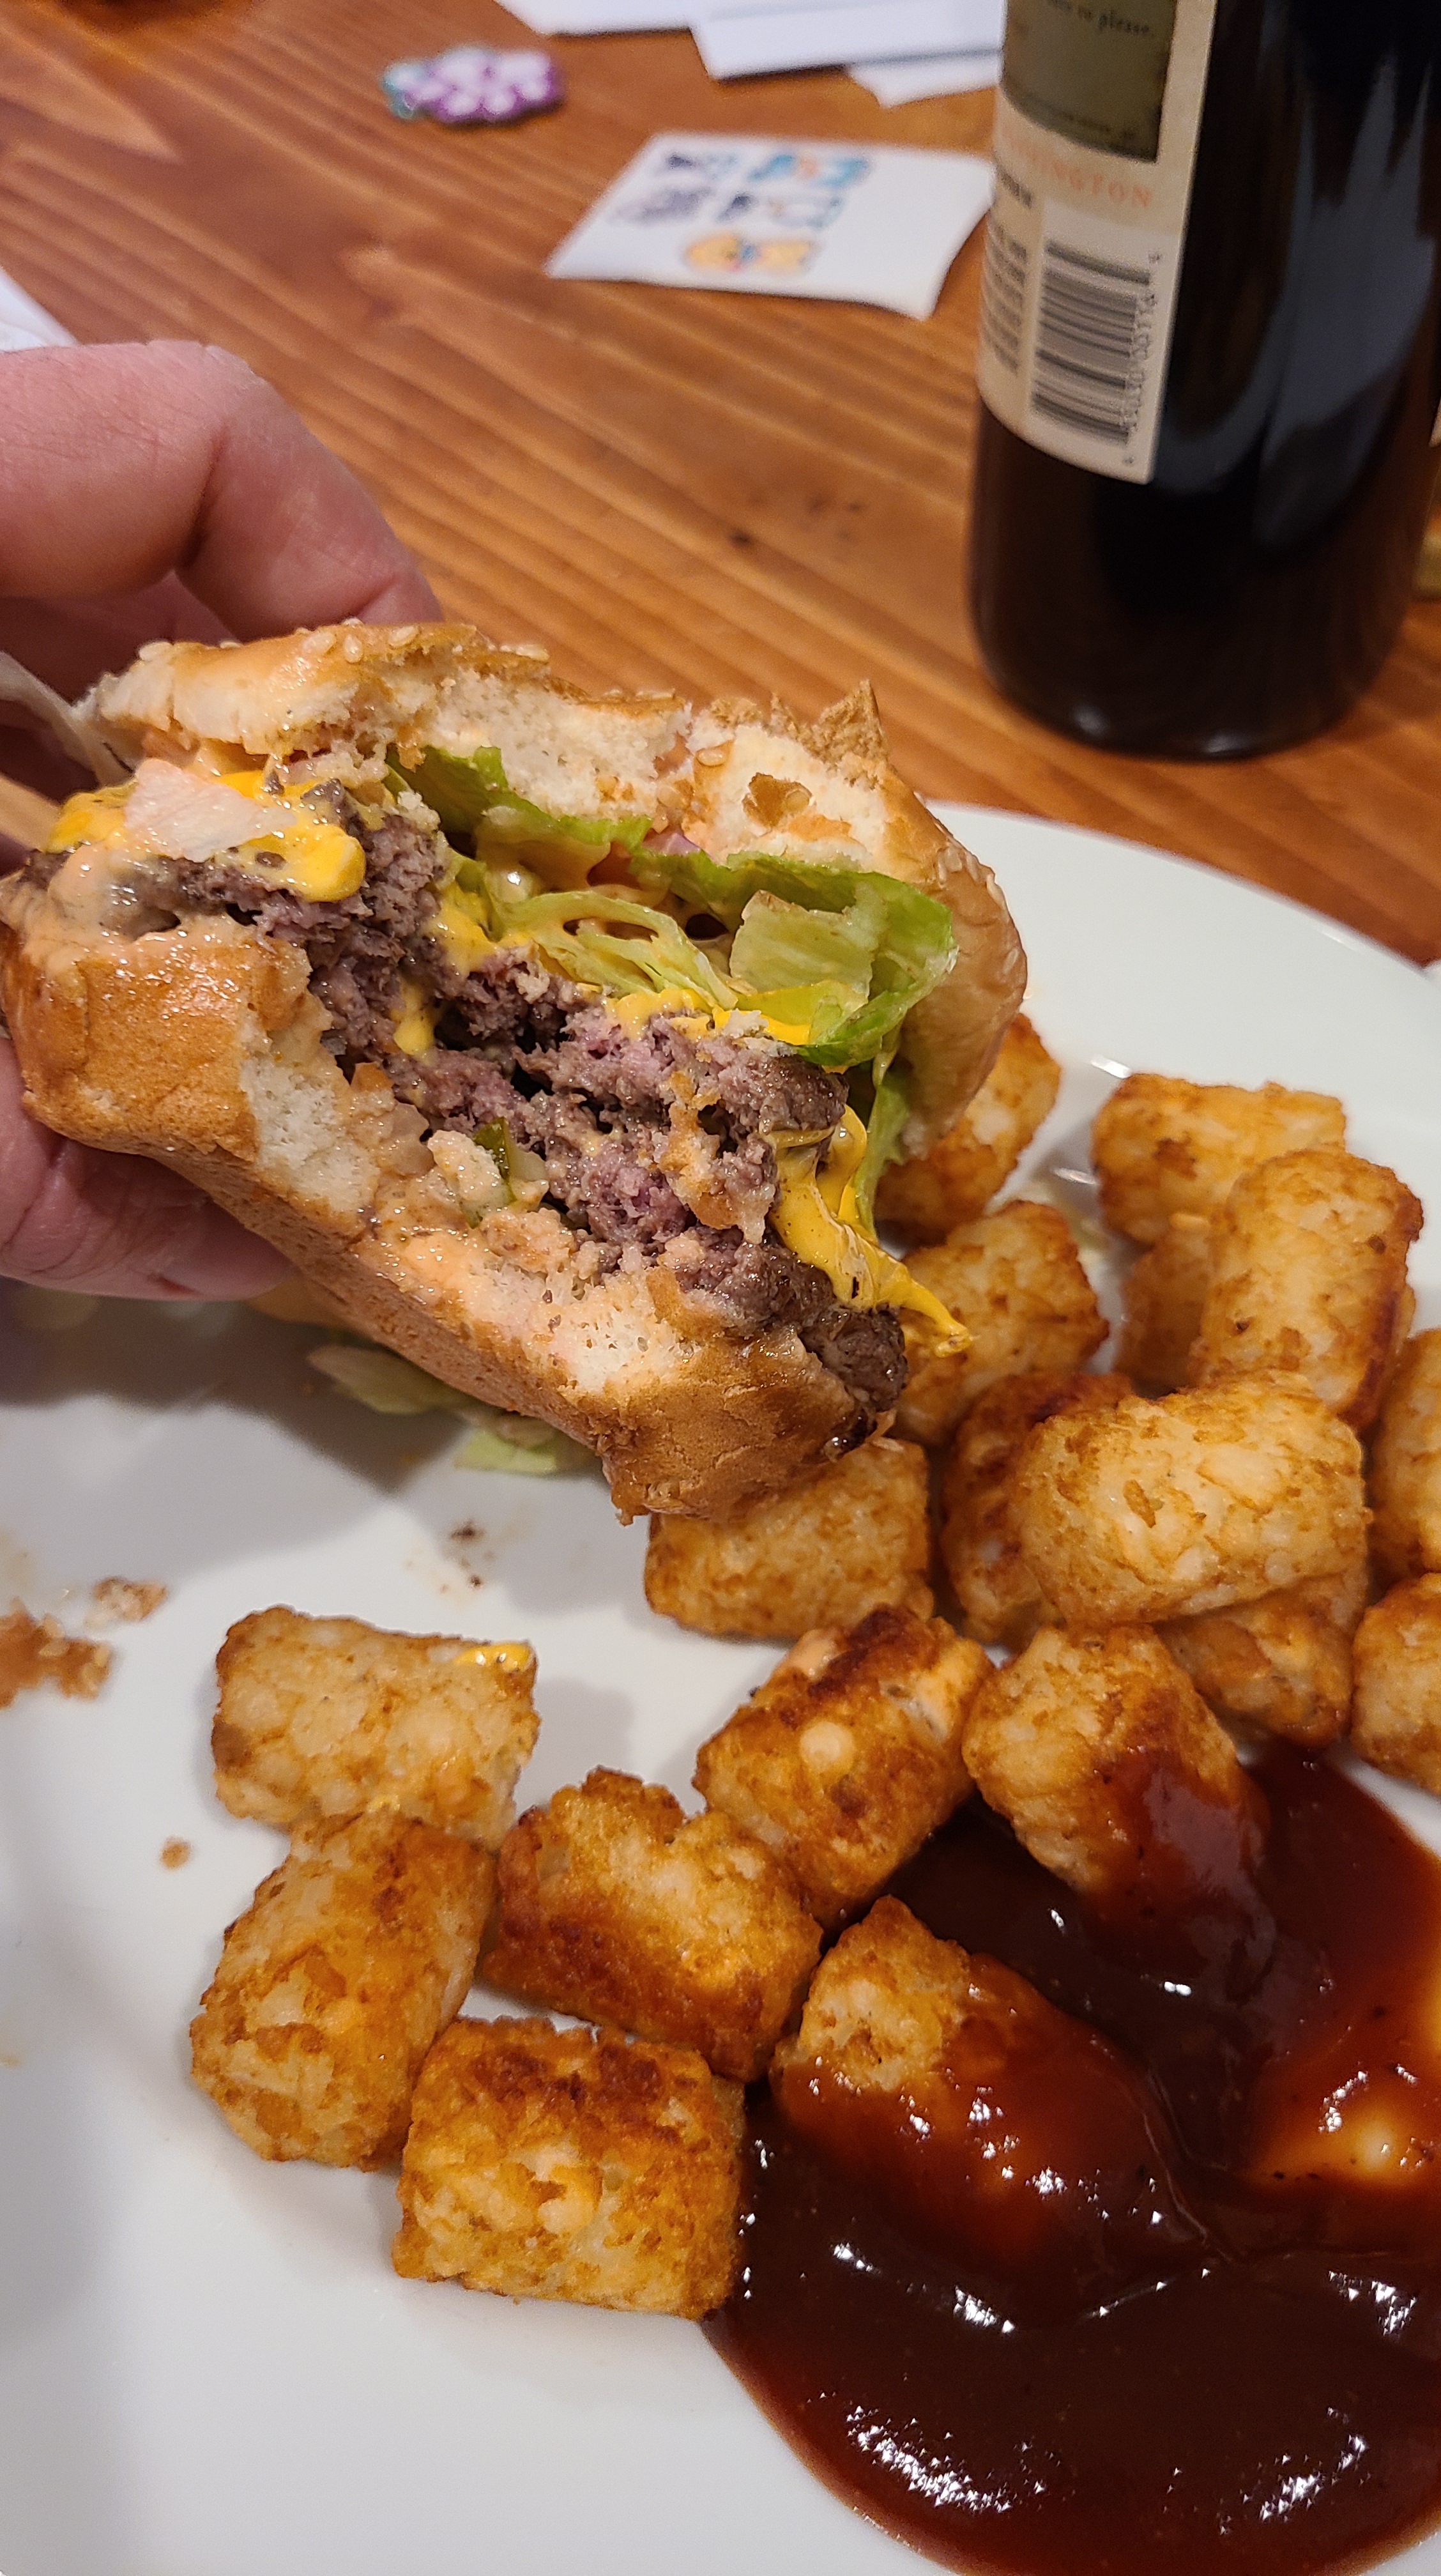
- Build your burger with your preferred toppings: bun, fancy sauce, shredded lettuce, etc.
- Revel in the deliciousness.
Pictures: